Organizing assets
Assets are stored in your asset library, and are organized using asset stores, folders and sub folders. You can create each of these organizational elements from the Organize pane in Content Hub.
Asset stores and folders enable you to group assets by category. For example, if your asset library includes images for a fashion brand, you may have an asset store named "My fashion brand" and sub-folders for "Men" and "Women".
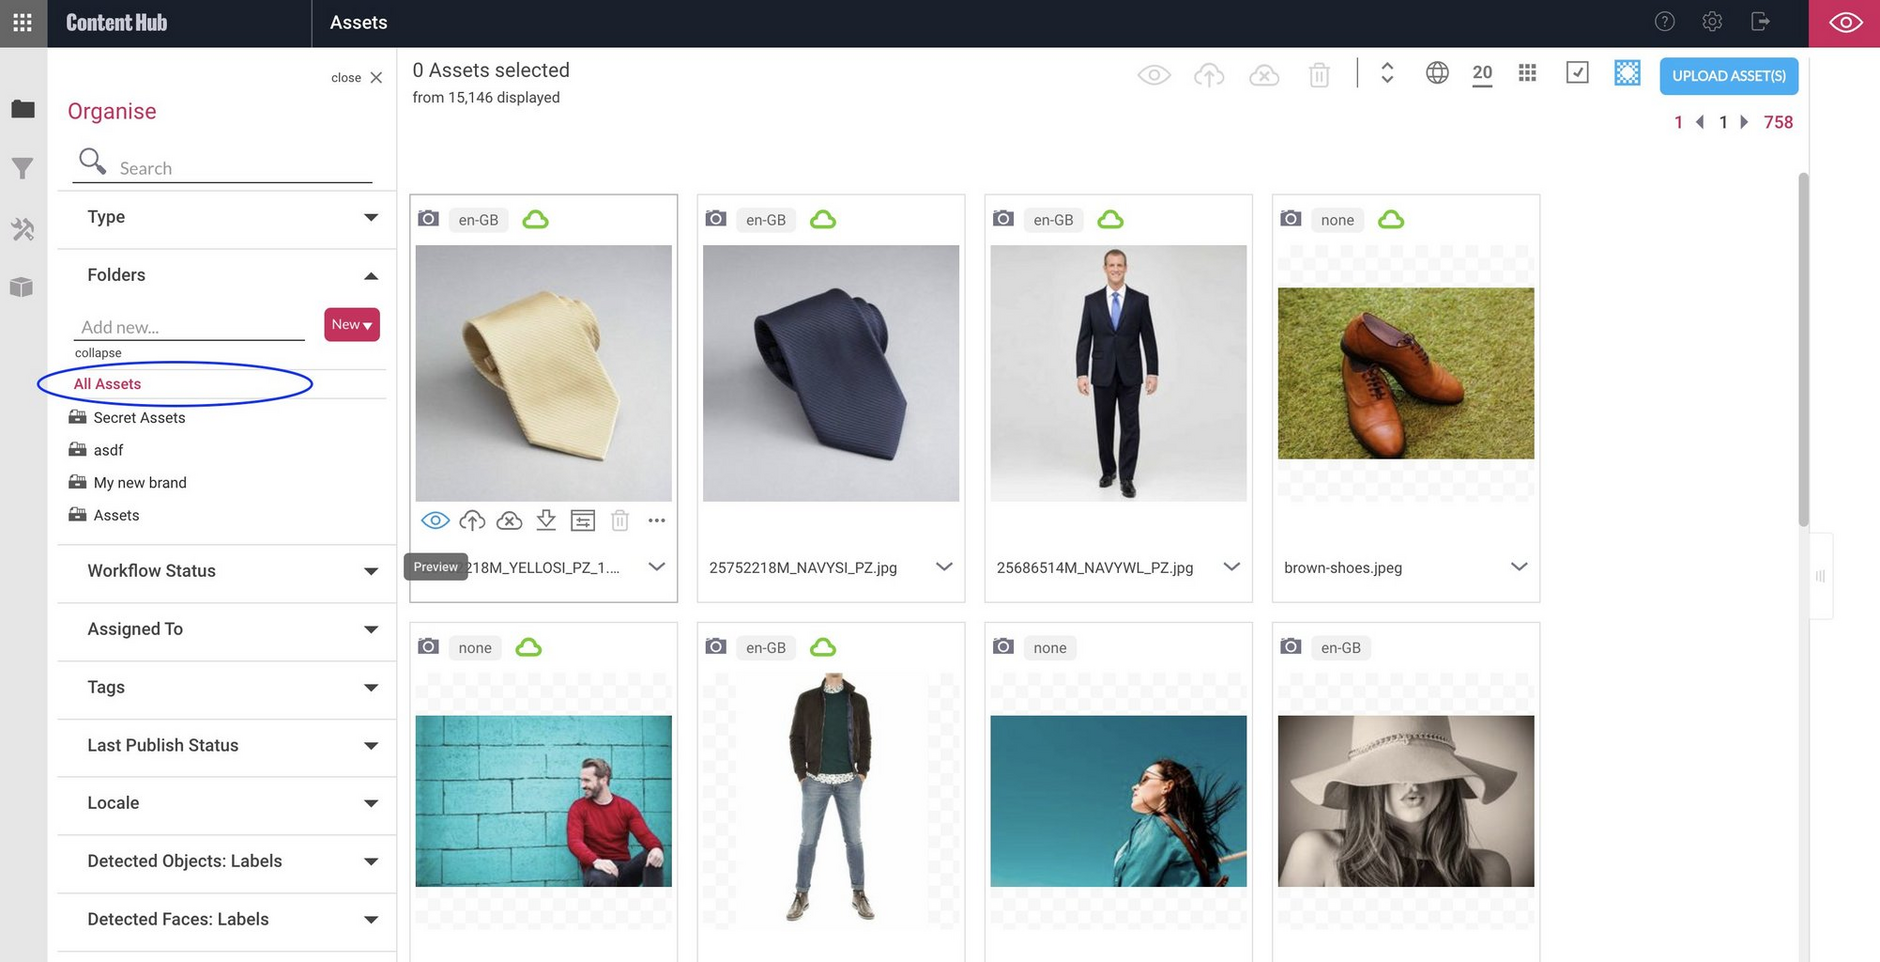
When you’re working with assets, using either Content Hub or the Dynamic Content Assets tab, asset stores and folders provide an easier way to browse assets, rather than searching in "All assets".
The folder structure shown in Content hub and the Assets tab has no impact on the dynamic or static URL of your assets. If you move assets between folders and assets stores, the assets retain the same delivery URLs.
Adding asset stores to the asset libraryLink copied!
Asset stores are used as a level of organization above folders and sub folders. For example, you may use asset stores to represent a brand or sub company.
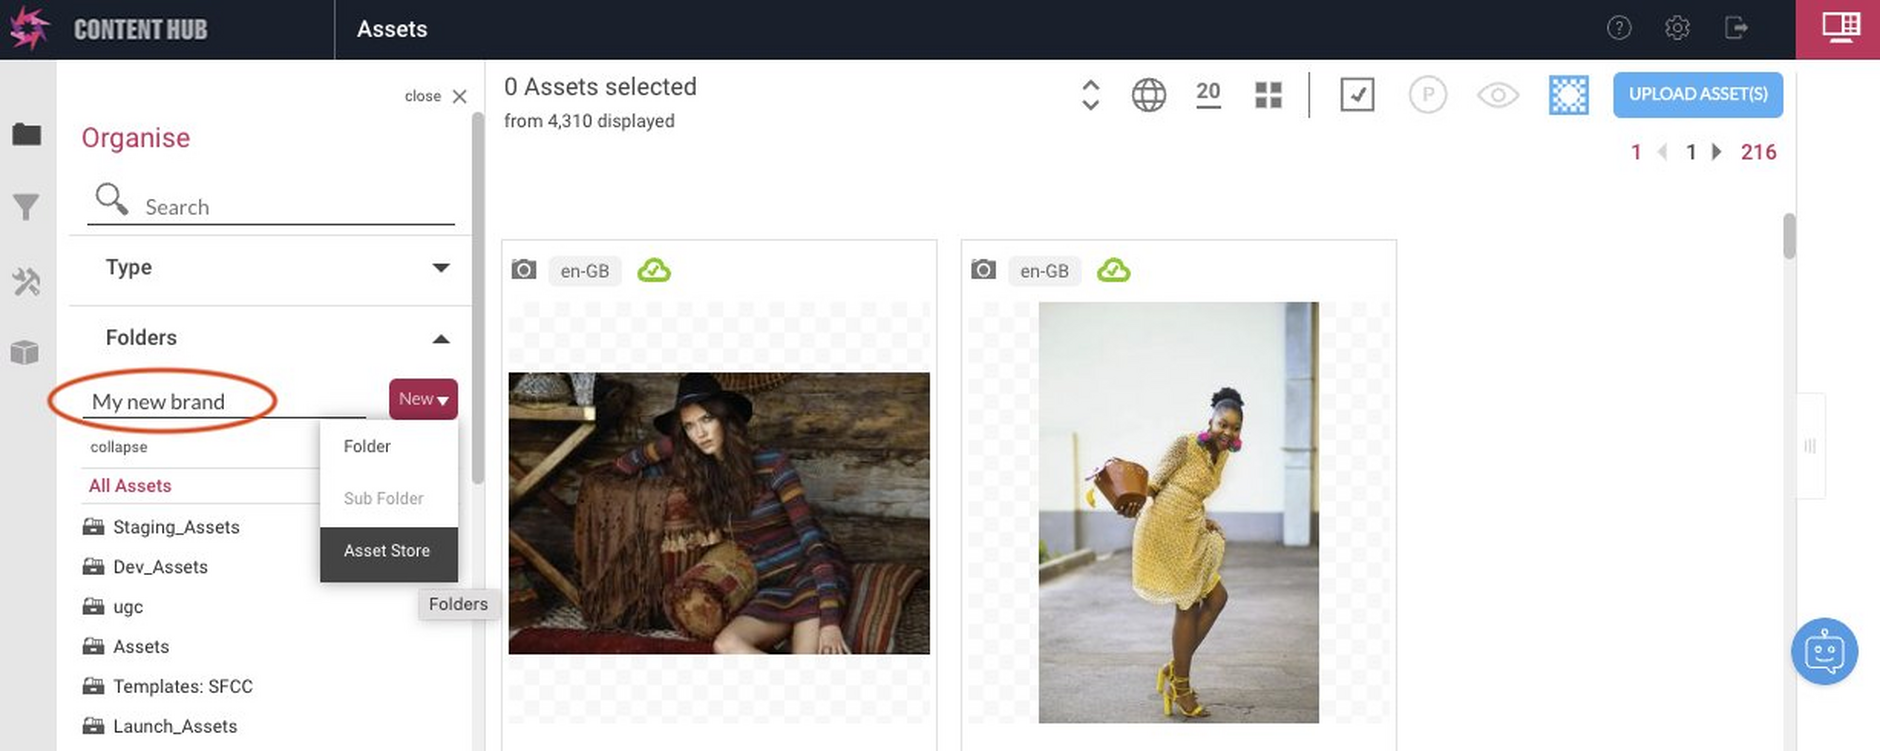
You add asset stores using the Organize pane in Content Hub. To add a new asset store enter its name and then choose 'Asset Store' from the New menu. In our example below we are adding an asset store named 'My new brand'.
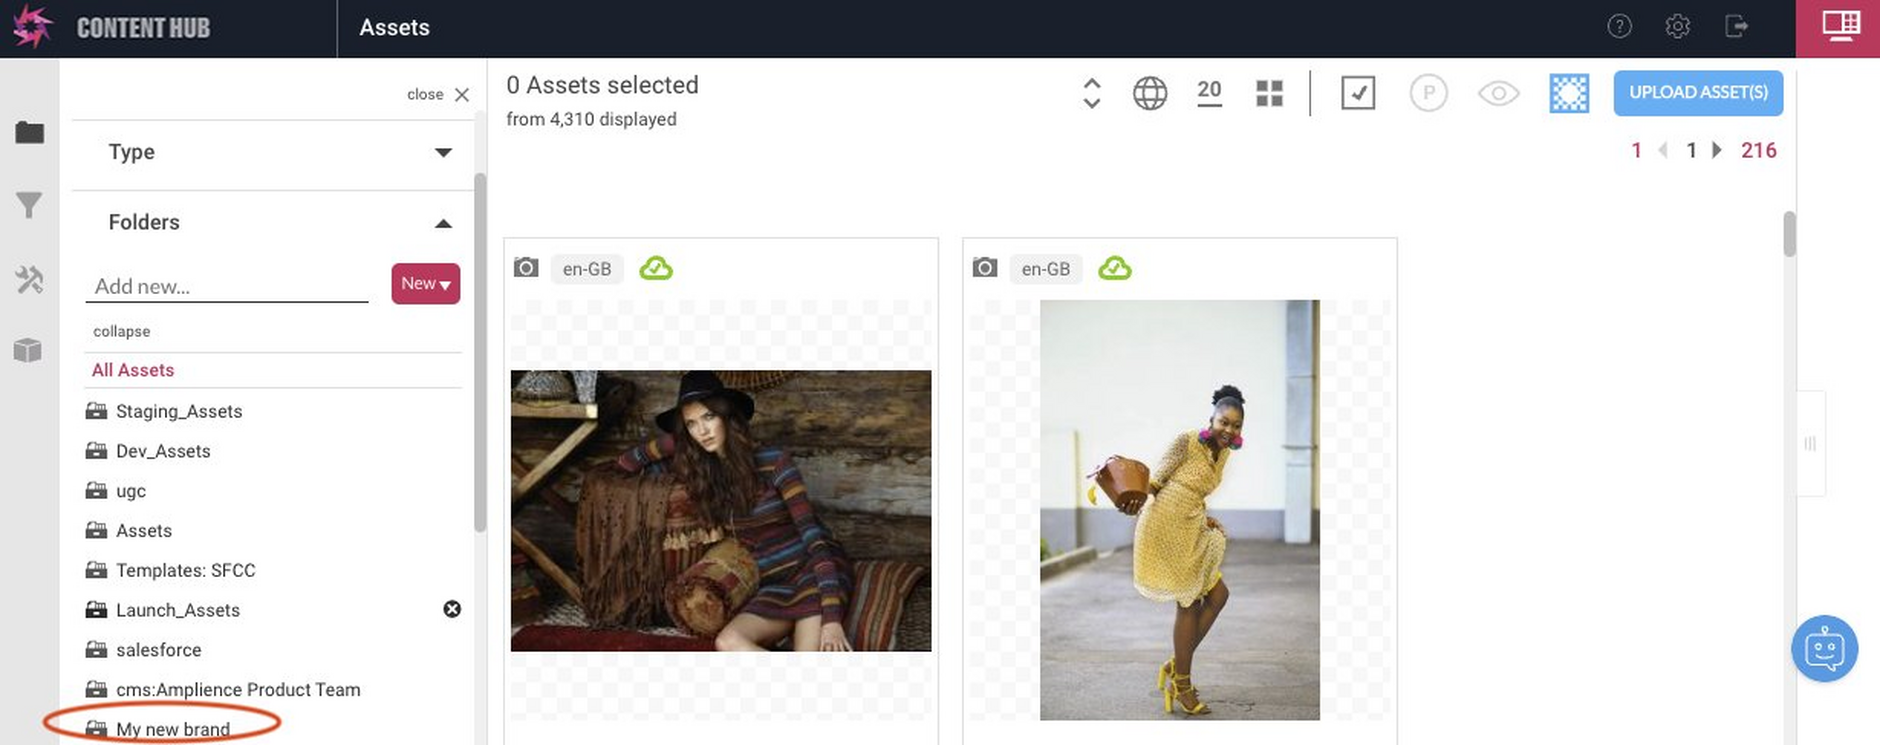
The new asset store is added to the Asset library.
Adding folders to an asset storeLink copied!
In the Asset Library, asset stores can be further organized into folders. This is particularly useful if you want to keep all the assets for one project together to make it easy to find. Folders are always created in the context of an asset store or another folder.
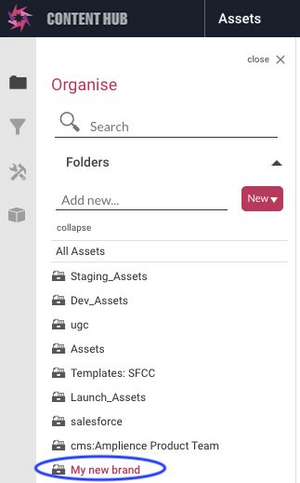
You add top level folders using the Organize pane in Content Hub. To add a new folder, select the asset store in which you want to create the folder as shown below:
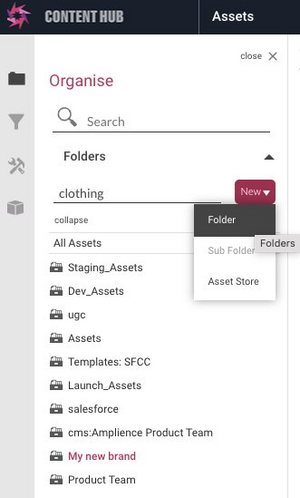
Next enter the name of the folder and choose 'Folder' from the New menu. In our example below, we are adding a folder named 'clothing' to our 'My new brand' asset store.
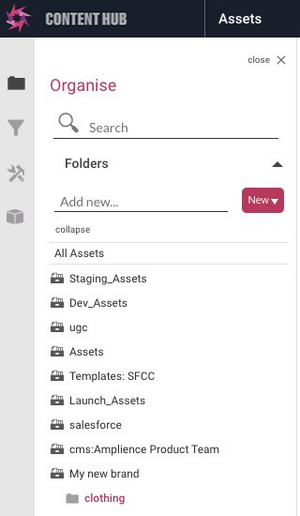
The new 'clothing' folder is added to our 'My new brand' asset store.
Adding sub folders with Content HubLink copied!
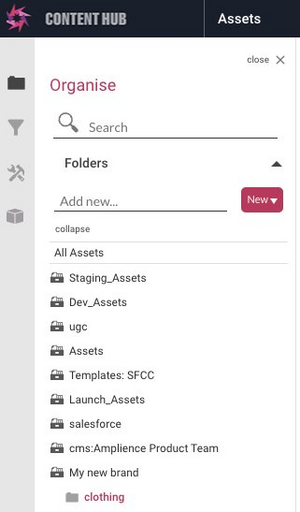
To create a new sub folder in the Asset Library from Content Hub, select the folder in which you want to create the sub folder. In our example below we have selected the clothing folder:
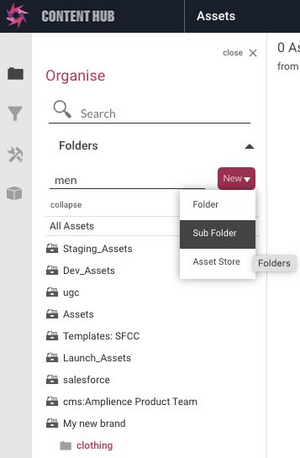
Next enter the name of the sub folder and choose 'Sub Folder' from the New menu. In our example below, we are adding a sub folder named 'men' to sub divide our clothing folder.
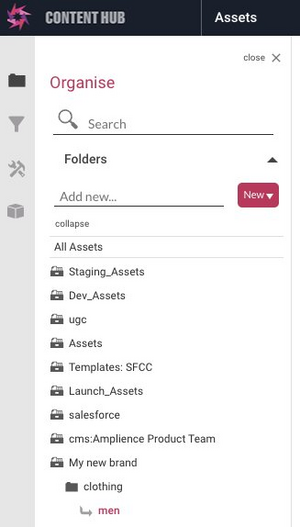
The new 'men' sub folder is added to our 'clothing' folder.
Adding sub folders with Dynamic ContentLink copied!
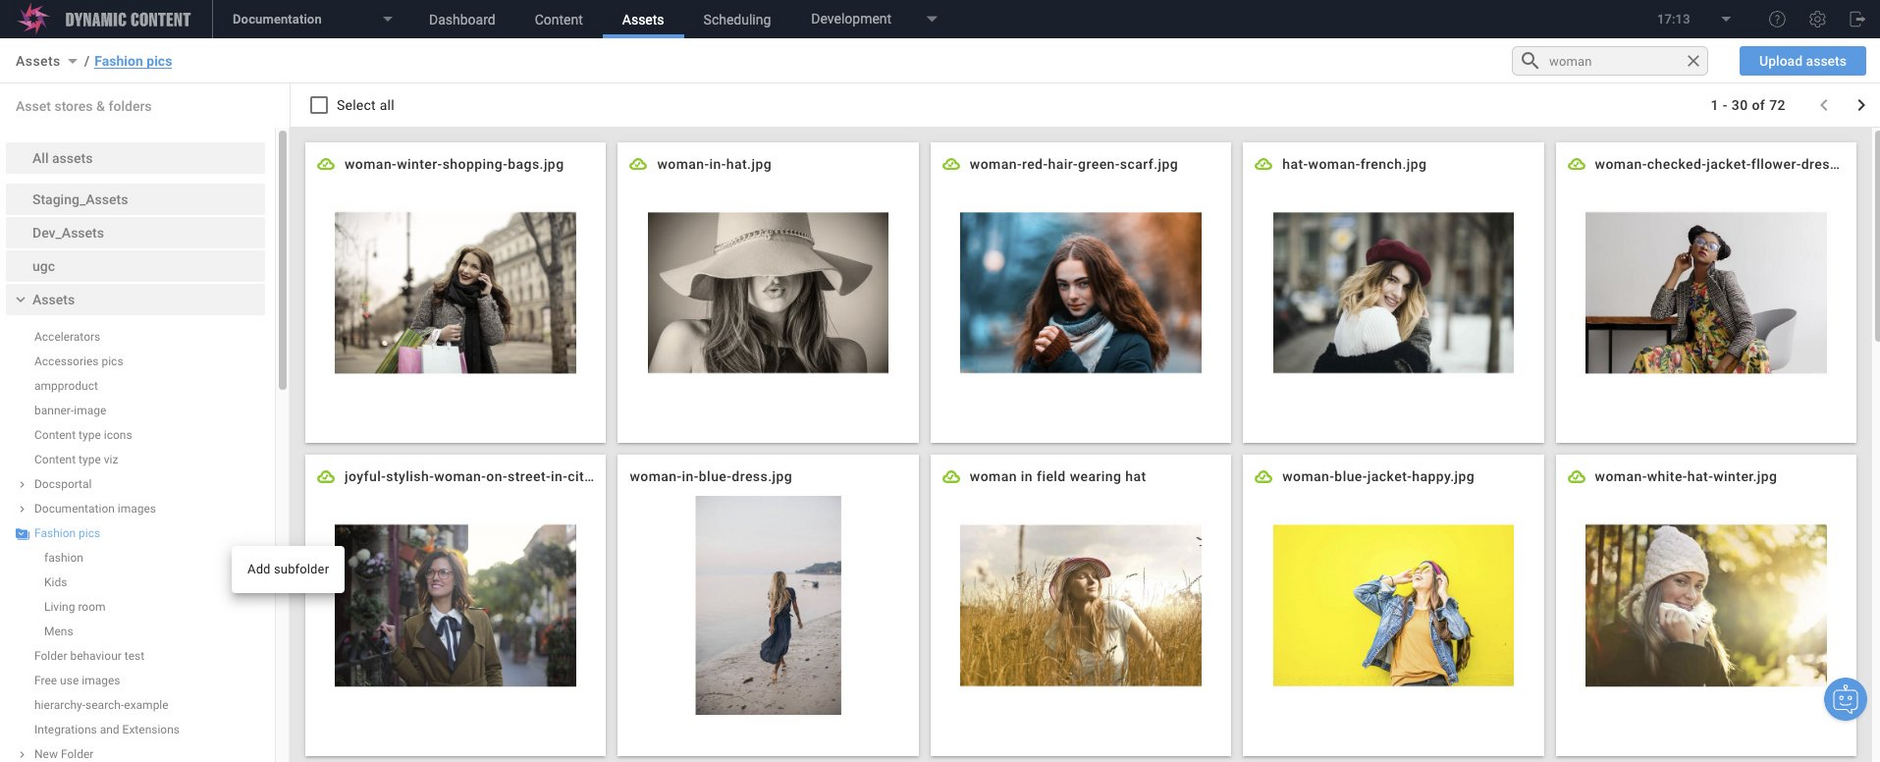
To create a new sub folder in the Asset Library from the Dynamic Content Assets tab, right click or hover on the folder in which the subfolder is to be added and choose "Add subfolder" from the menu.
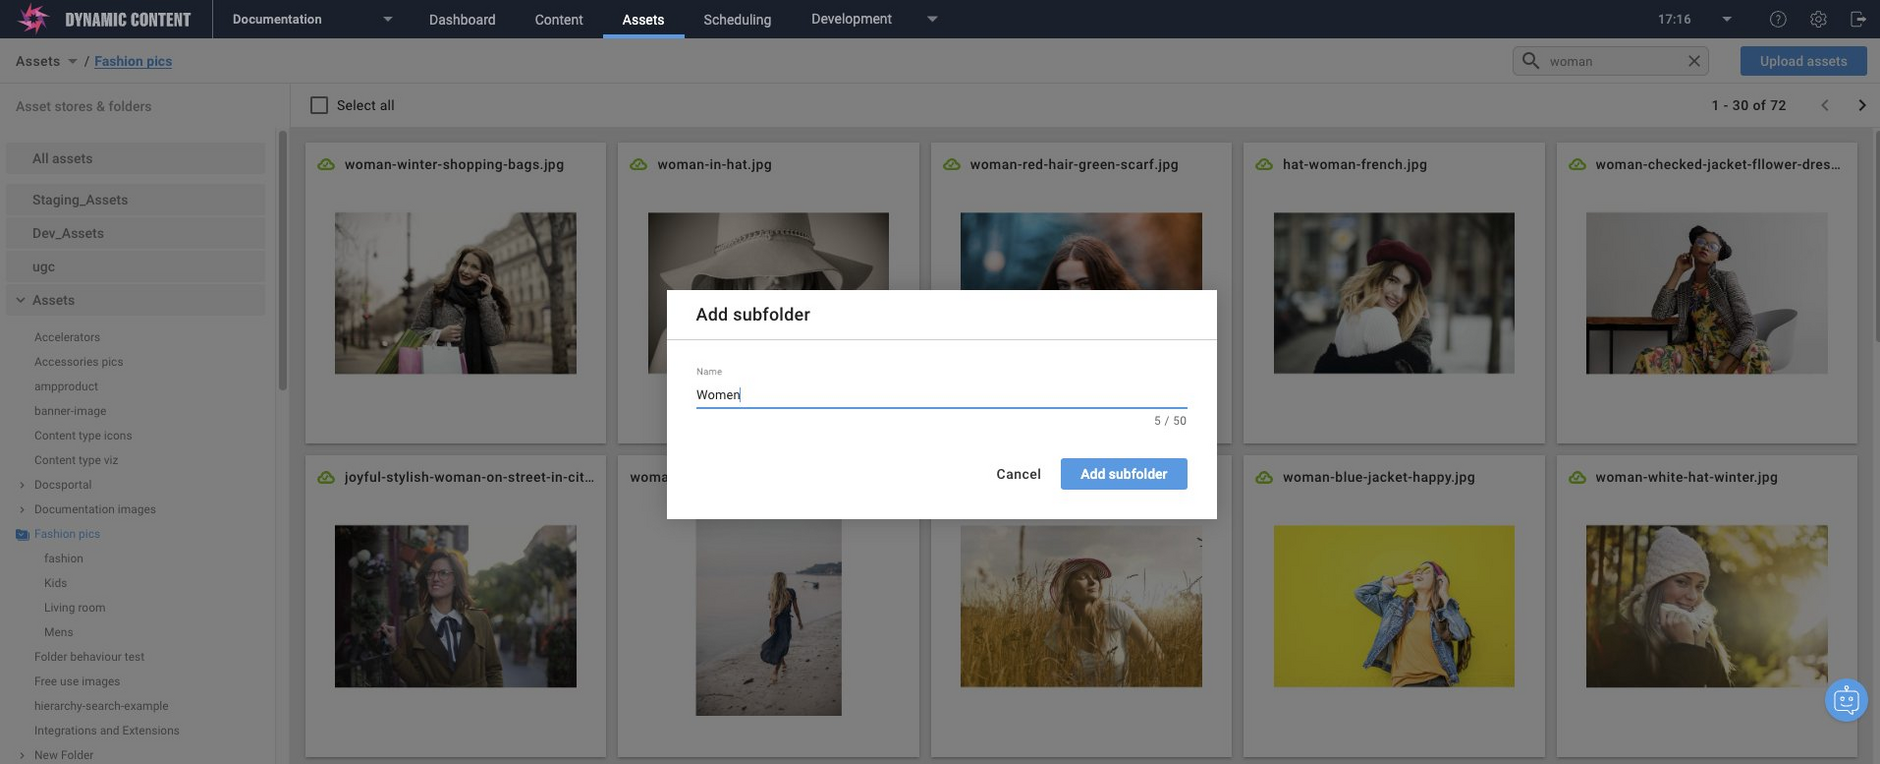
A text edit box appears allowing you to give the new folder a name. Enter the new name, and type return. In this example a new folder is created called "Women" within the "Fashion pics" folder.
Note, if you want to move, delete or rename a subfolder you must do this in Content Hub.
Deleting asset stores and asset foldersLink copied!
Using Content Hub you can delete asset stores and asset folders.
Removing an asset store or folder doesn't remove its assets. Assets that were associated with a deleted asset store or folder remain in the asset library, with their same delivery URLs.
Deleting asset storesLink copied!
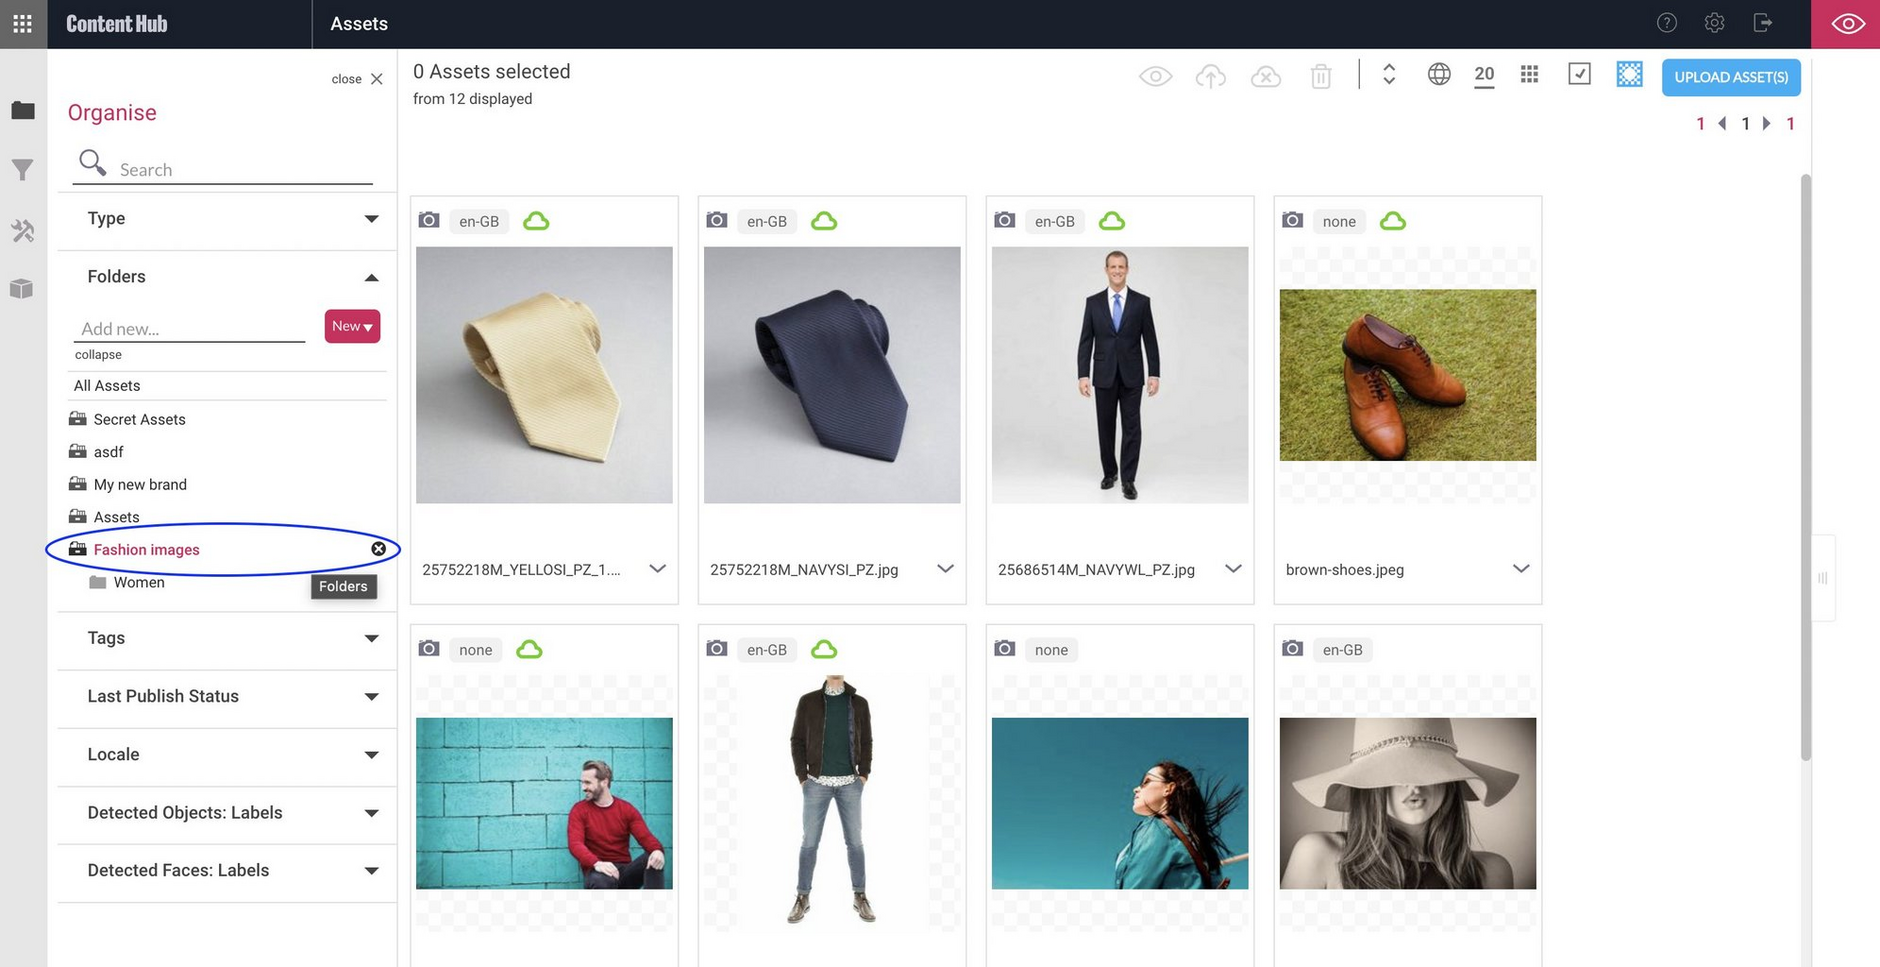
To delete an asset store hover the cursor so that an 'x' icon is displayed parallel with the name of the asset store you want to delete. In this example, we want to delete the "Fashion images" asset store.
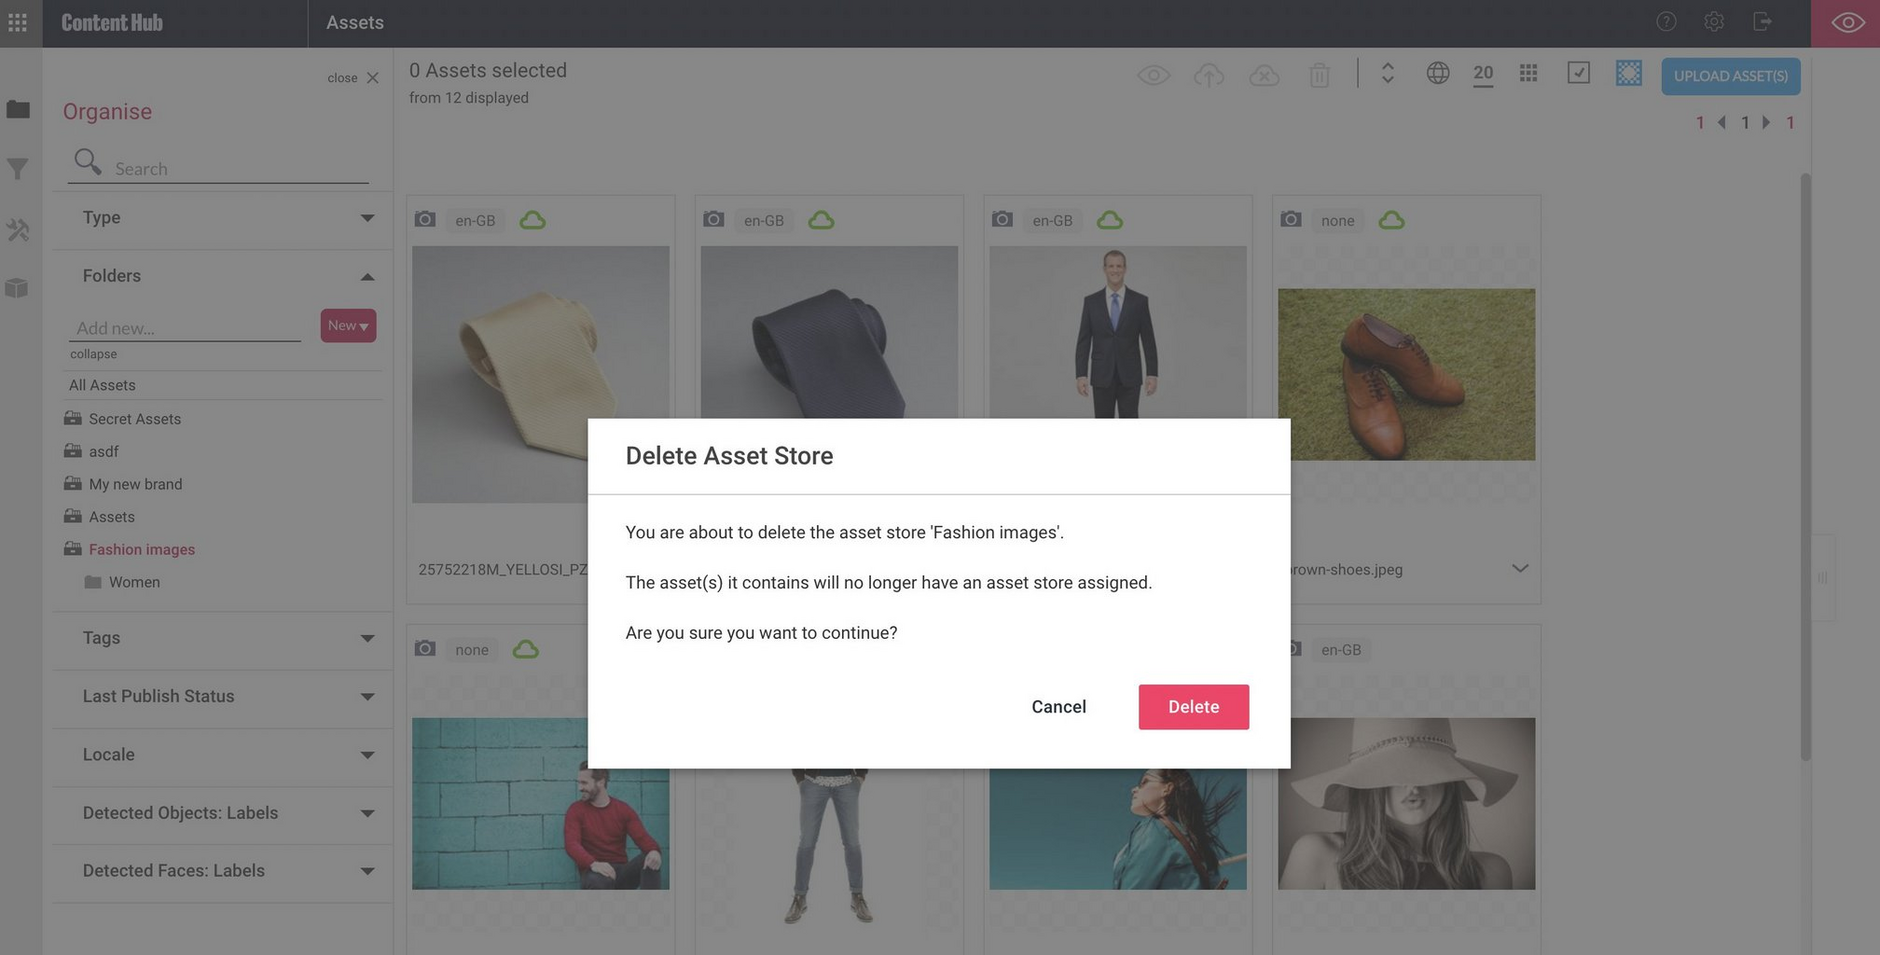
Clicking the 'x' icon displays the "Delete Asset Store" dialog, that reminds you that any assets will no longer be assigned to the asset store or its folders.
Choosing "Delete" removes the "Fashion images" asset store. Any folders within it are removed and any assets are no longer assigned to an asset store or folder. In the example below you can see that the "Fashion images" asset store is no longer in the Organize pane.
The images from the "Fashion images" asset store remain, and can be seen in "All assets".
Deleting asset foldersLink copied!
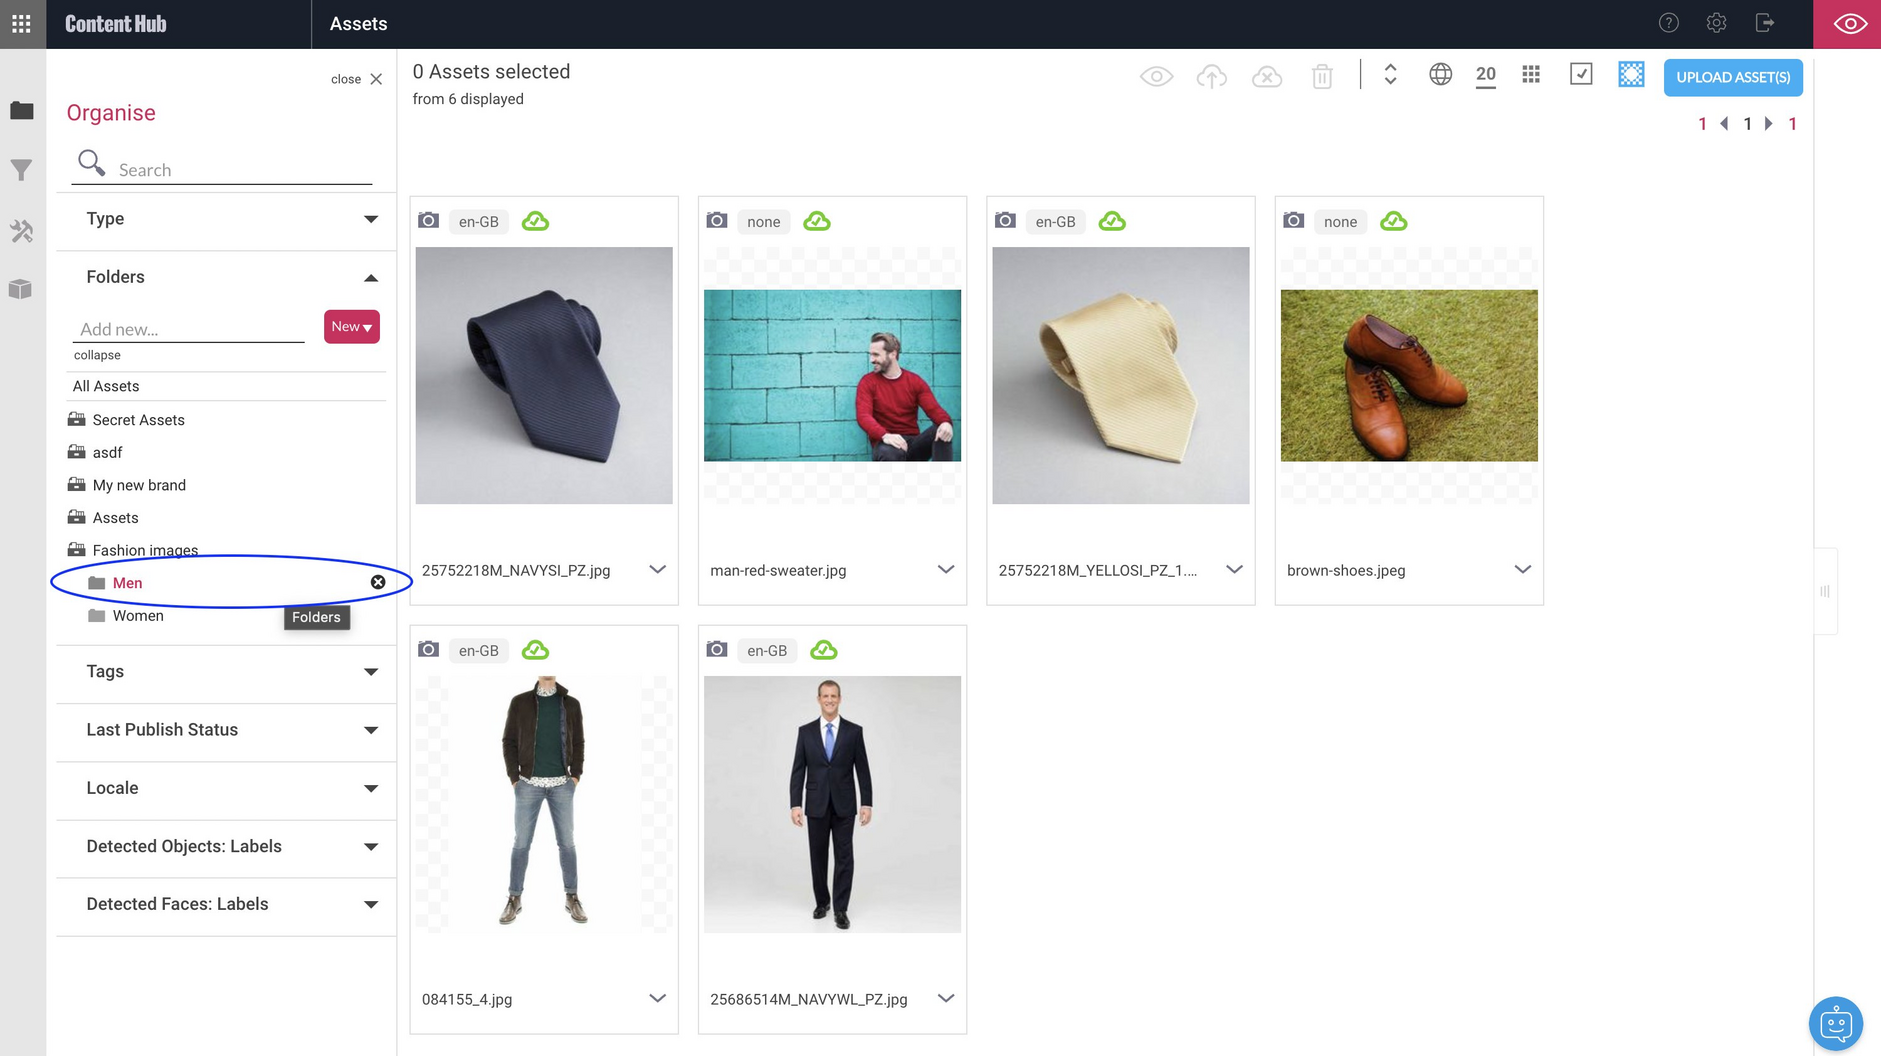
To delete a folder or sub folder, hover the cursor so that an "x" icon is displayed parallel with the name of the folder you want to delete. In this example we are deleting the "Men" folder:
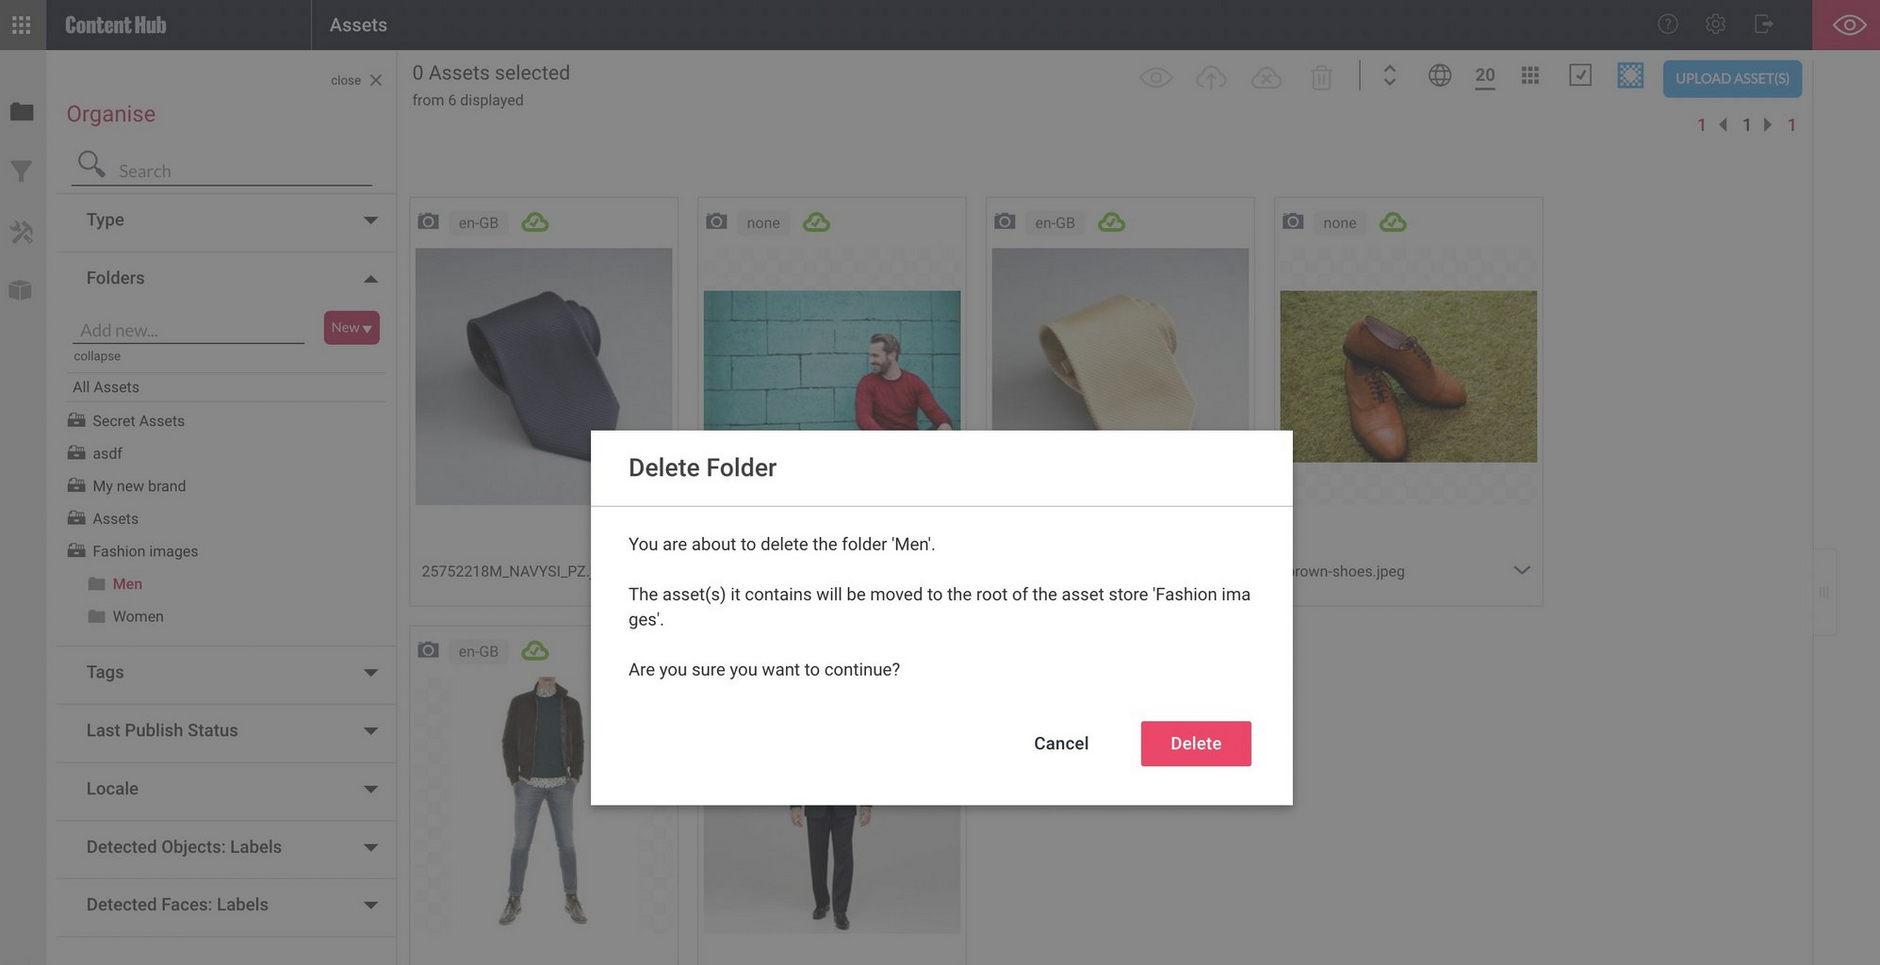
Click the 'x' icon to display the Delete Folder dialog. If there are any assets in the folder you are reminded that those assets will not be deleted. They will be assigned to the parent asset store.
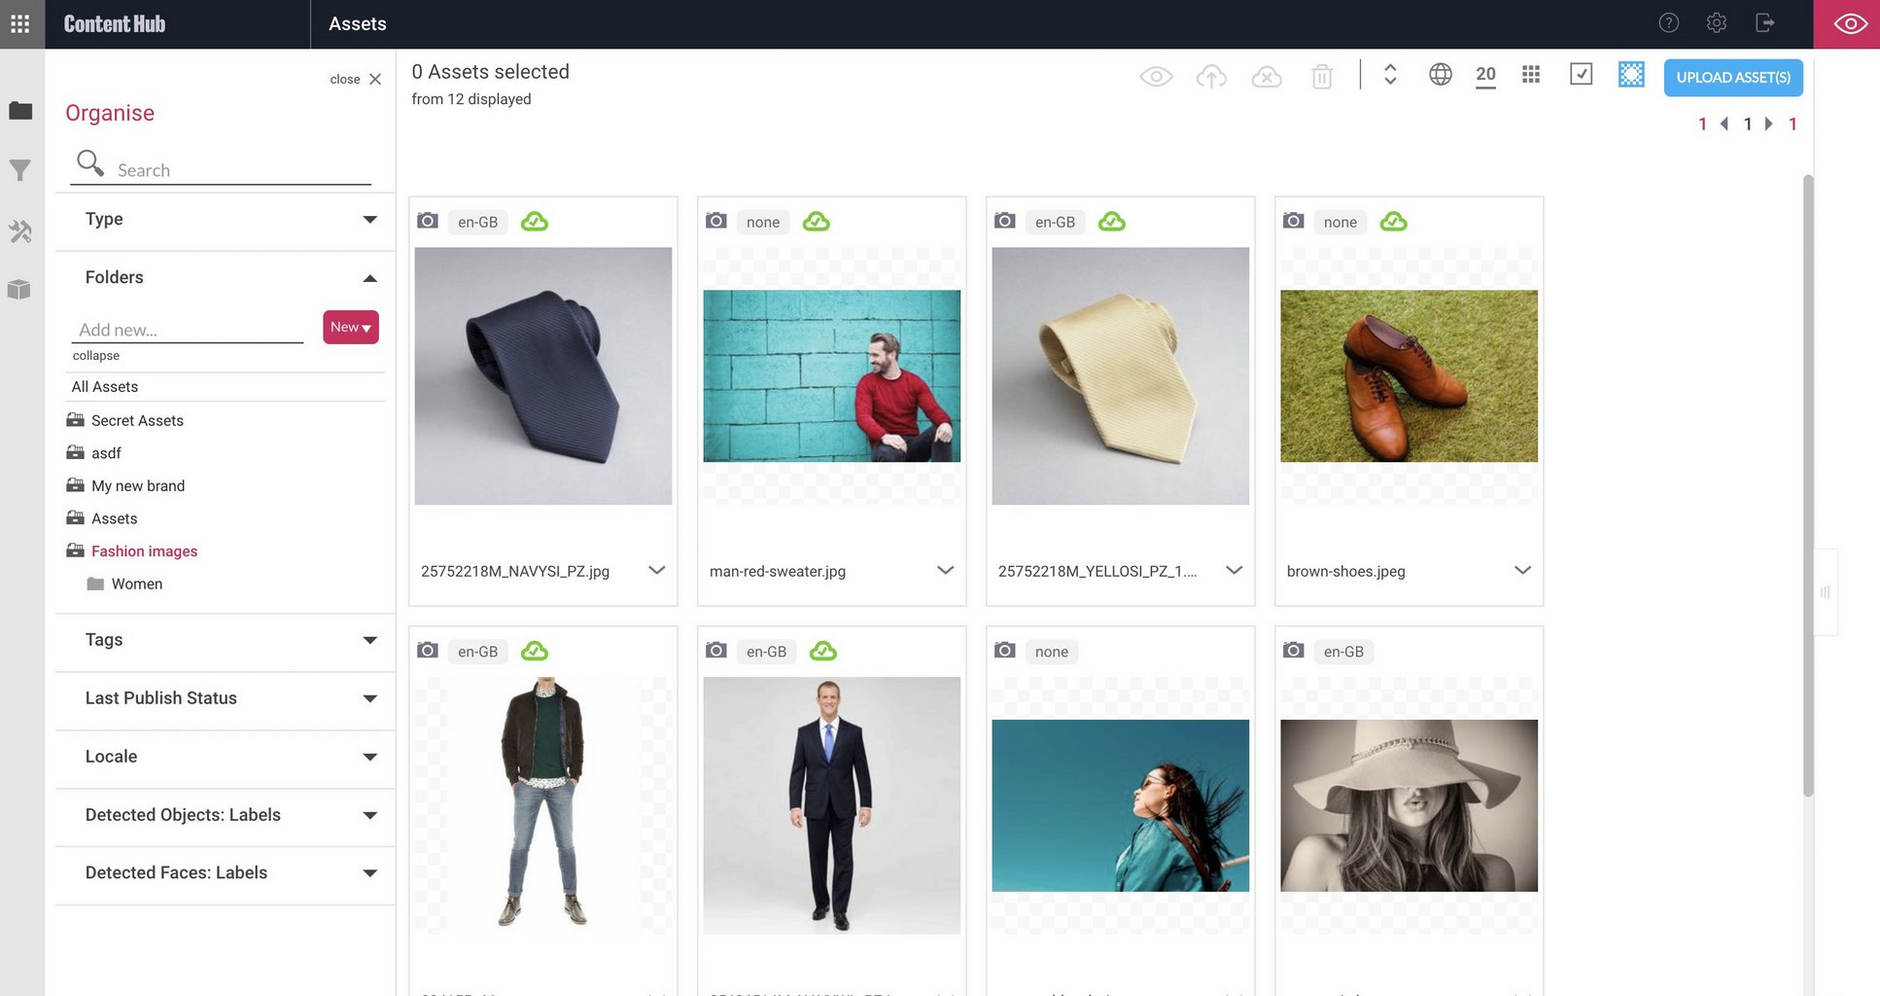
Choosing "Delete" removes the "Men" folder and assigns its assets to the parent asset store, as shown below:
Tagging assetsLink copied!
You can use tags to group and categorize assets, make them easier to find. Tags can be assigned to assets in bulk during asset ingestion, by using processing jobs.
You can add, modify and remove tags for already uploaded assets, by using Content Hub and our Asset Management API.
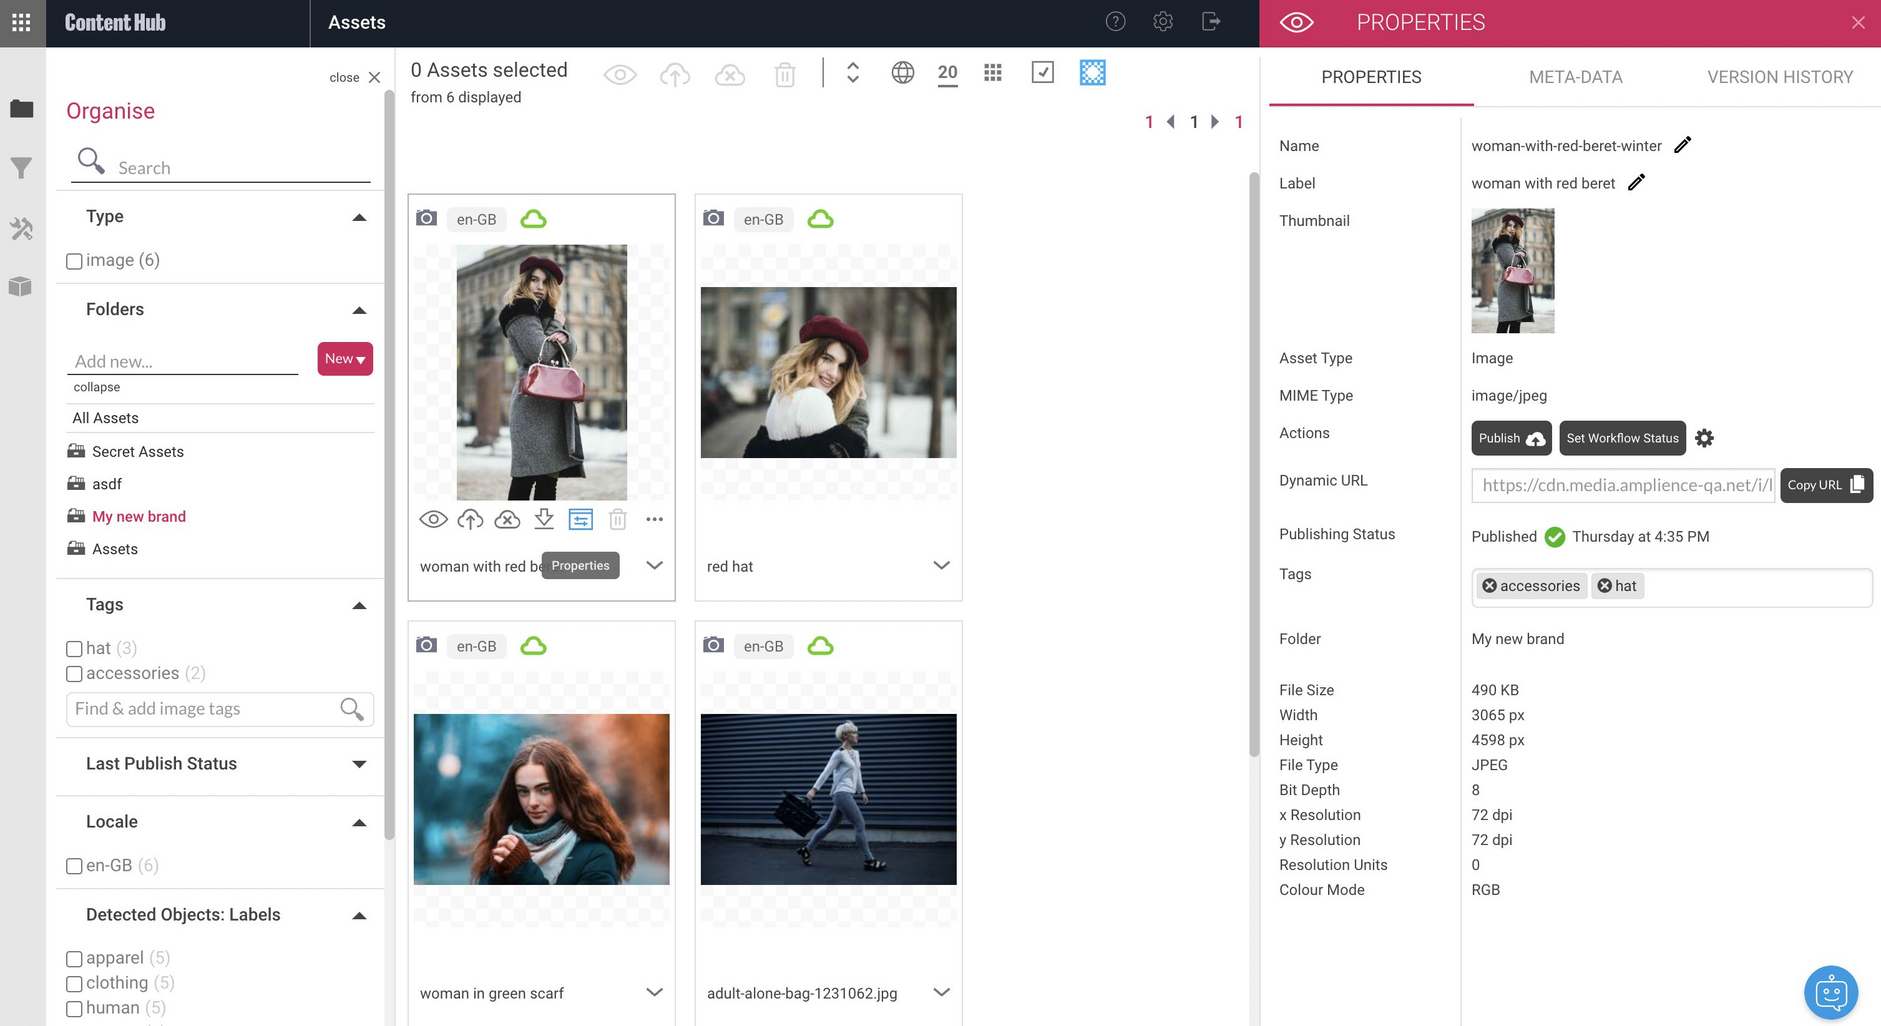
To add tags to an asset with Content Hub, click the asset's "Properties" icon to display its properties. Clicking in the "Tags" property displays a list of existing tags. You can select a tag from the list or enter new tags.
In this example, we've added the tags "accessories" and "hat" to our asset. The tags already existed and are shown in Tags section on the left of the window.
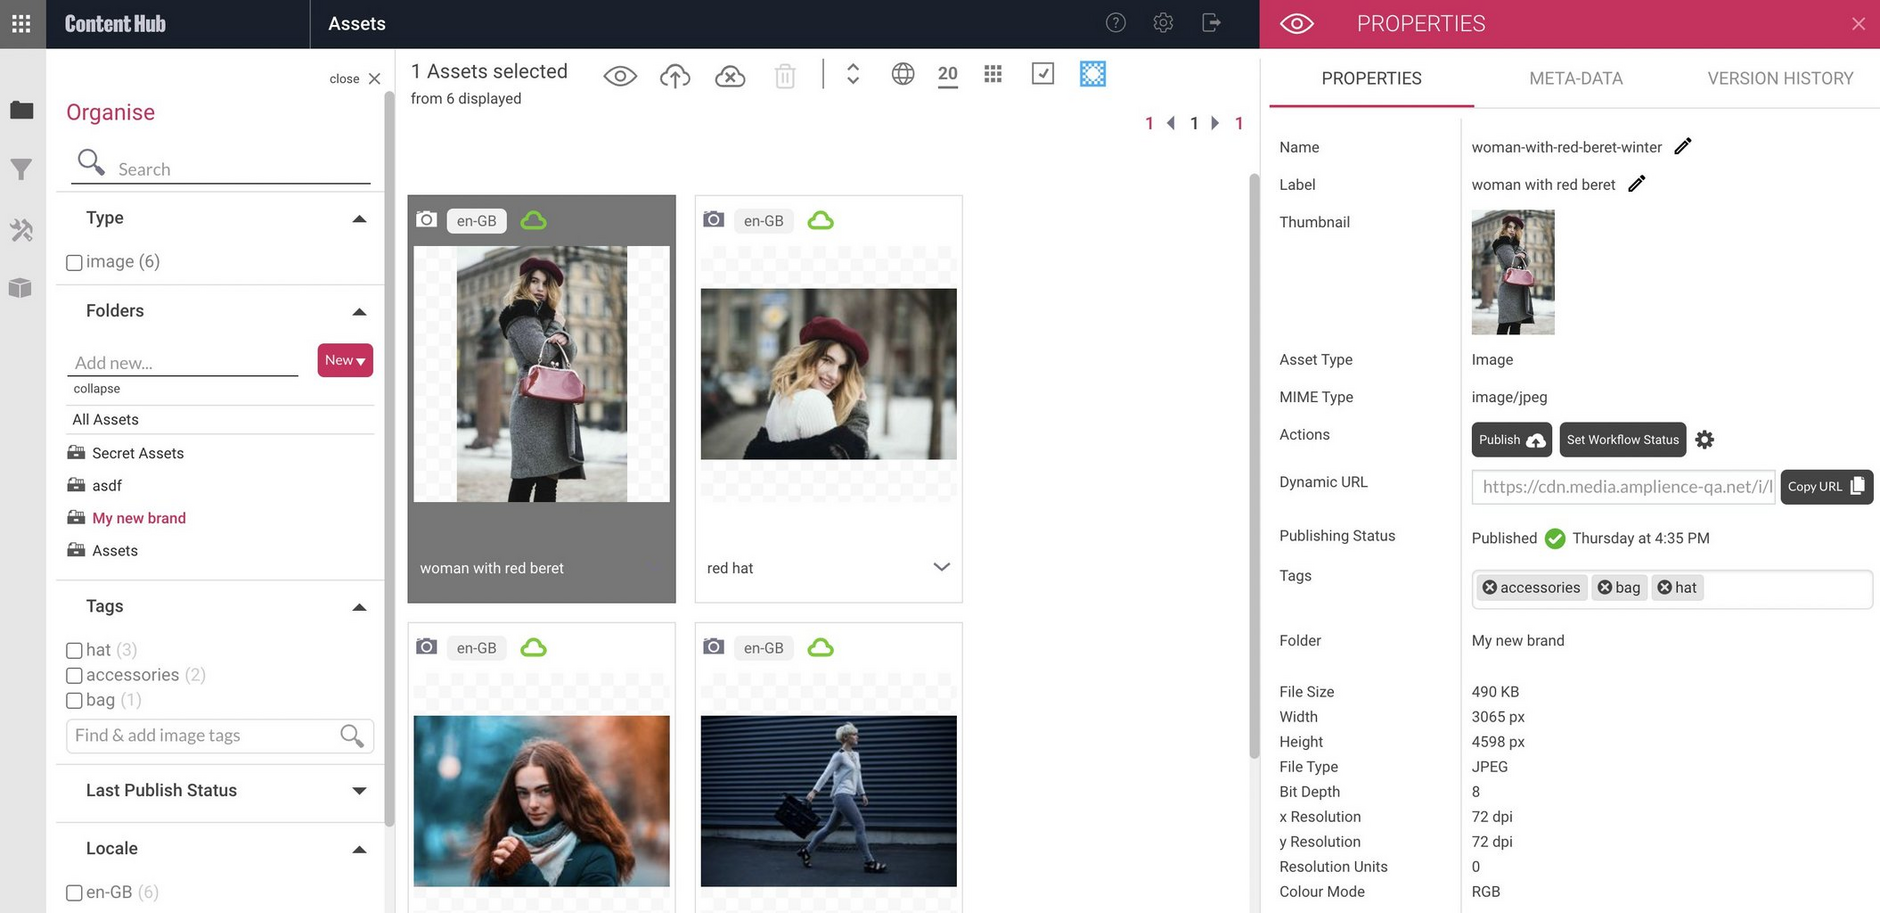
If we add a new tag of "bag" to the same asset, "bag" is also added to the Tags section on the left.
You can use asset tags as a way of filtering which assets are displayed when you're working in Content Hub. See Filtering assets.
