Product customization workflow
The Product Customization app includes basic workflow capabilities, allowing users to set a workflow status to items and assign these items to other team members for review and approval. This walkthrough shows a typical Product Customization workflow.
Preview the SVGLink copied!
As explained in the Colorization Quickstart, a user will create an SVG and then parameterize it to prepare it for customization. The SVG will then be uploaded to Content Hub where it can be managed in the Product Customization app and tested with various configurations before making it live.
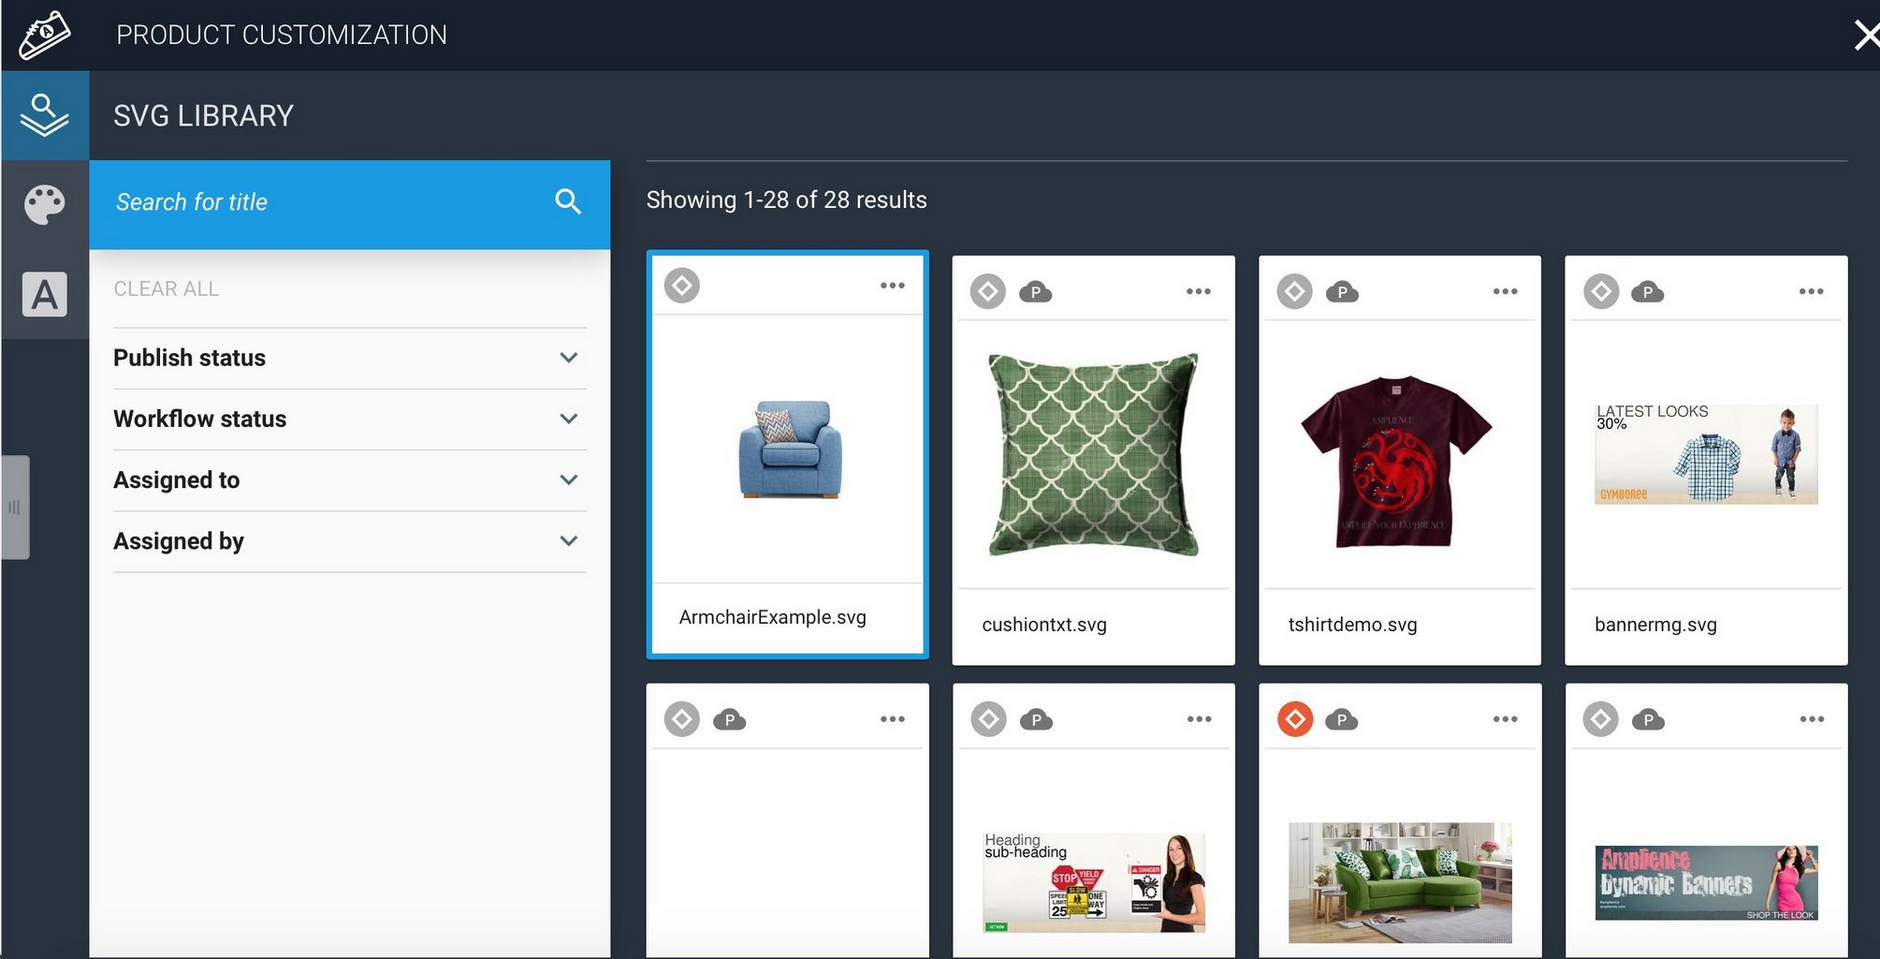
Within the Product Customization app, the SVGs are organized in the SVG Library. To preview and test colorized variants of the SVG, open the Contact Sheet, either by double-clicking the SVG in the library or choosing "View contact sheet" from the menu in the top right of the item's library card.
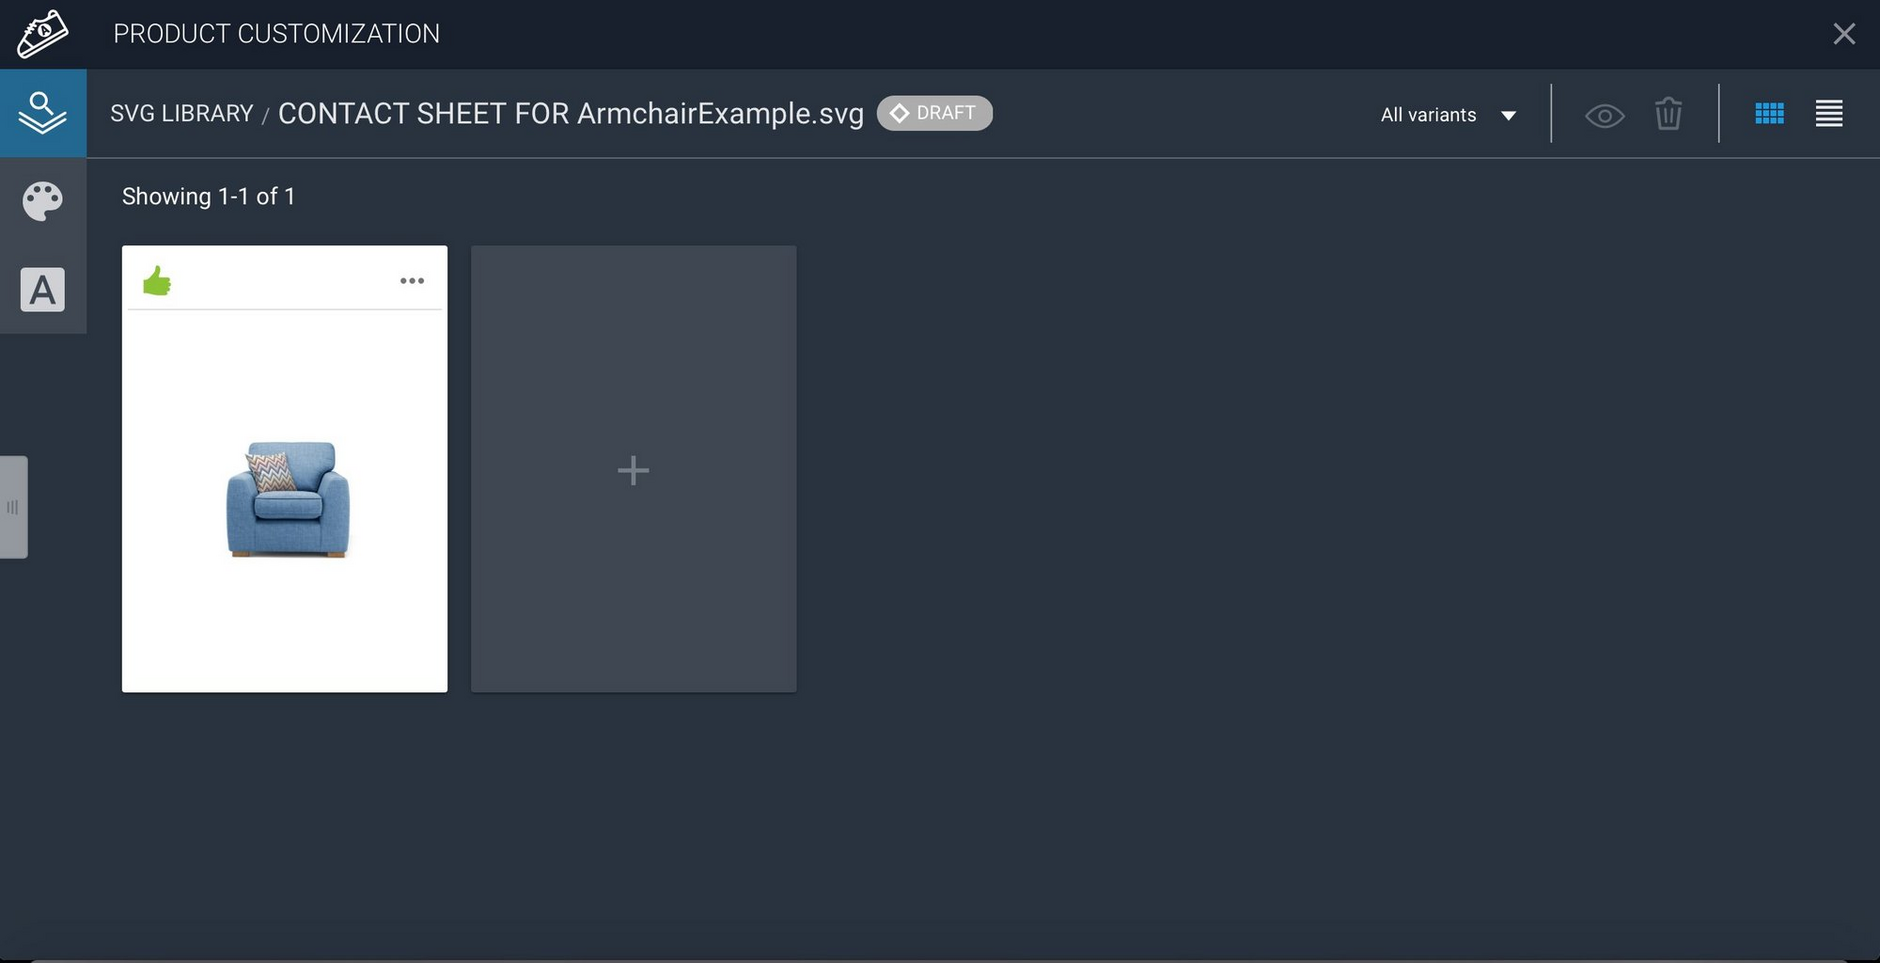
The Contact Sheet window displays each of the variants defined for this SVG and new variants can be added by clicking the "+" icon.
Each variant in the contact sheet shows both the workflow status for the entire SVG and a separate Pass or Fail status for the individual variant. In this example the workflow status is "Draft" because the SVG has not yet been approved. The setting of Pass or Fail for a variant is independent of the overall workflow and an SVG can be approved even if one or more of the individual variants is set to Fail.
Assign the work to another userLink copied!
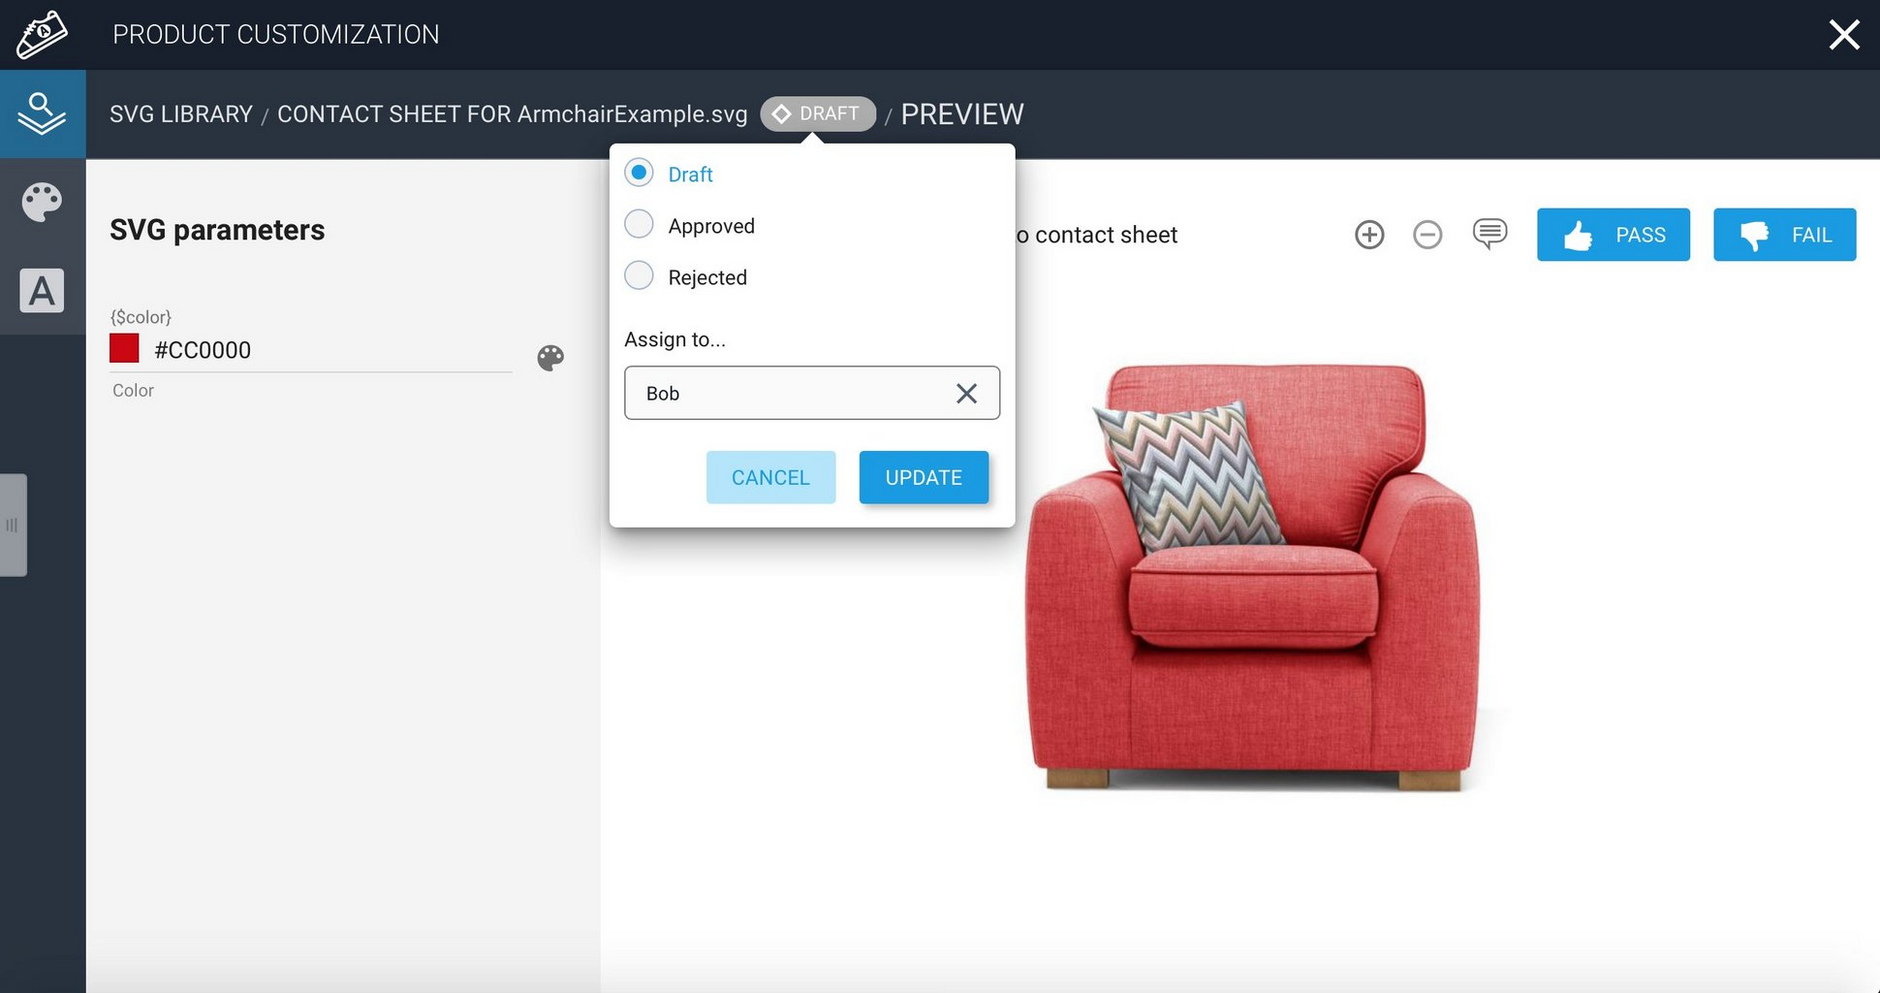
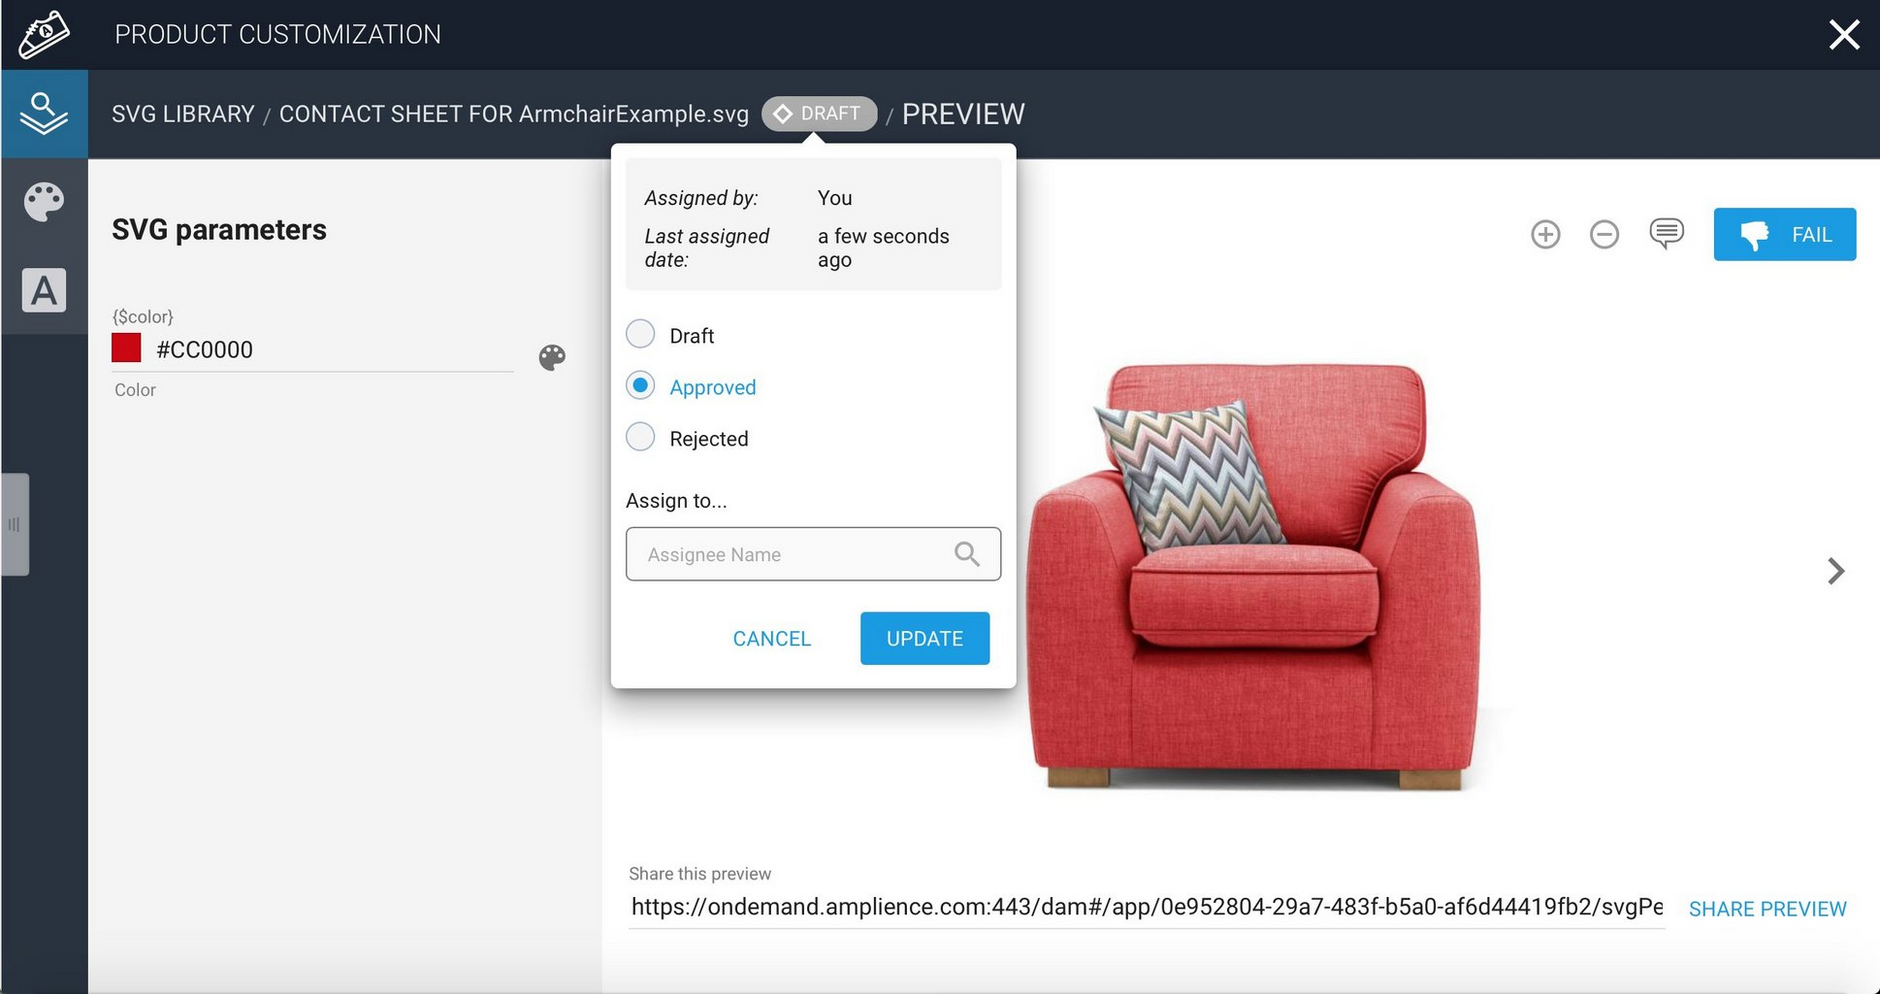
Click the workflow status icon to change the workflow status or assign the item to another user. In this case we're assigning this work to Bob.
Choose to approve or rejectLink copied!
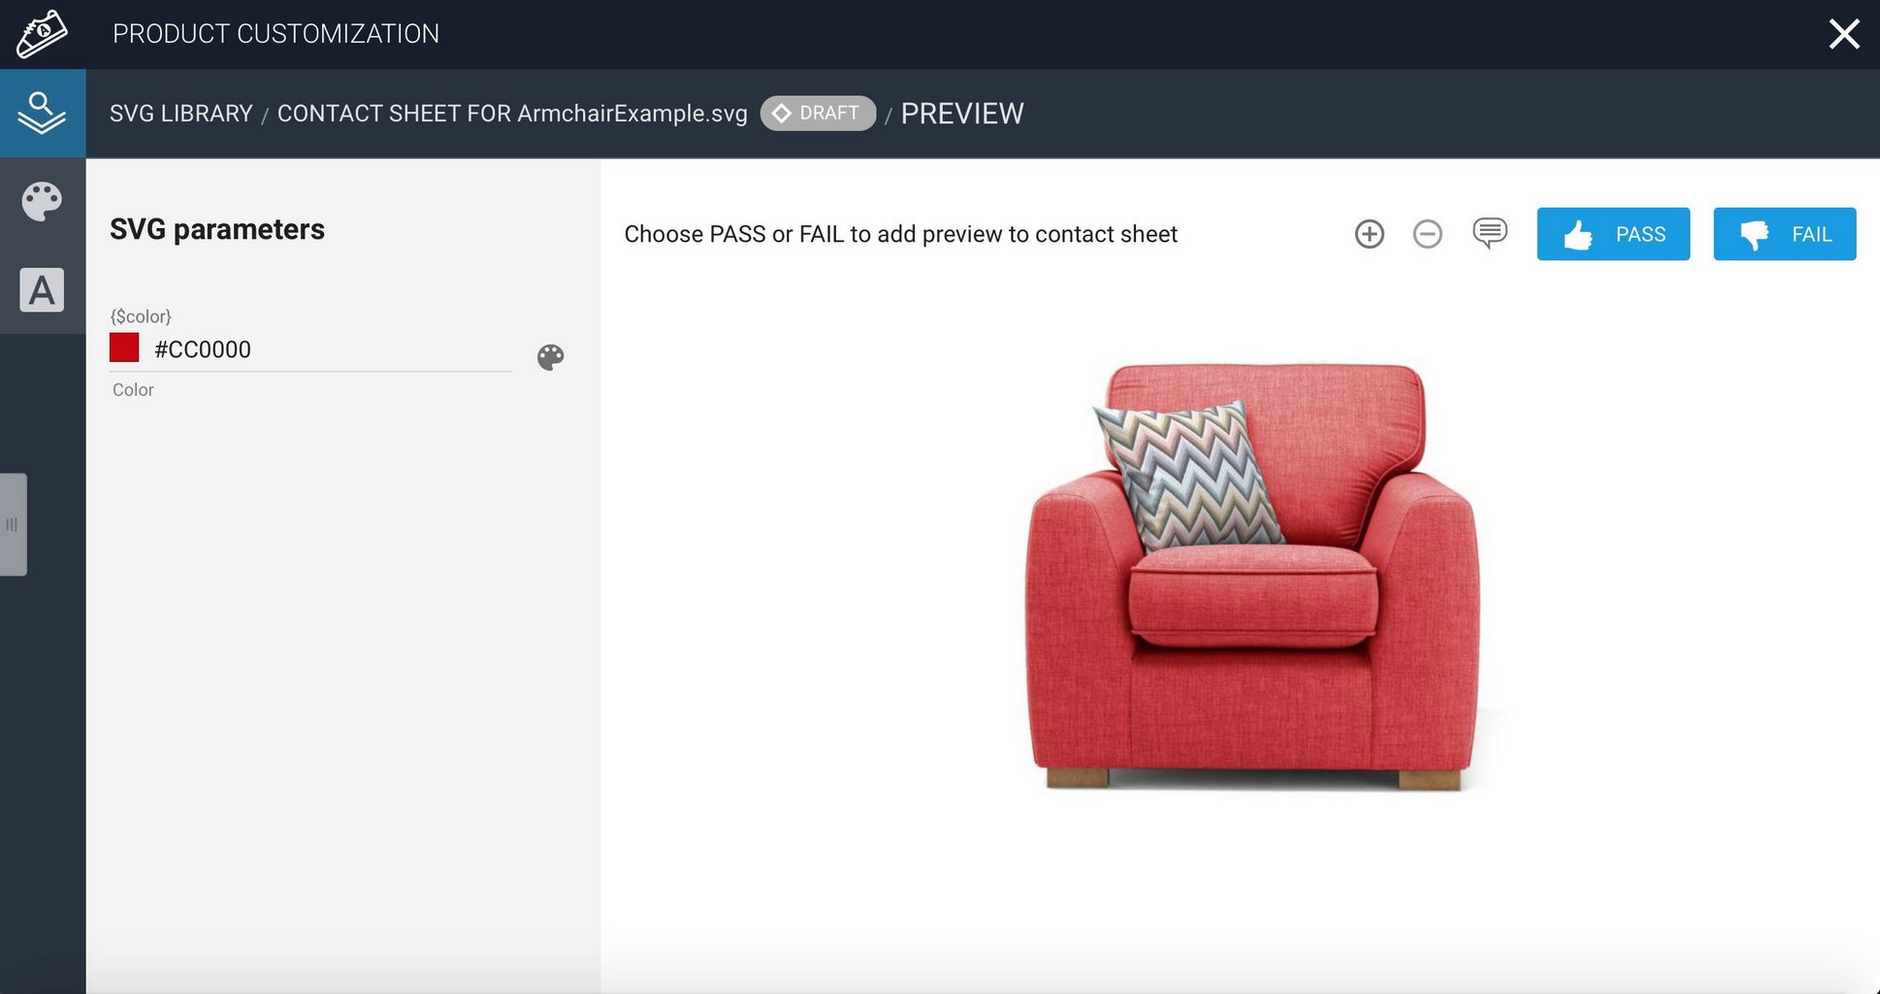
When the work is ready to be reviewed, the approving user can choose to accept or reject it.
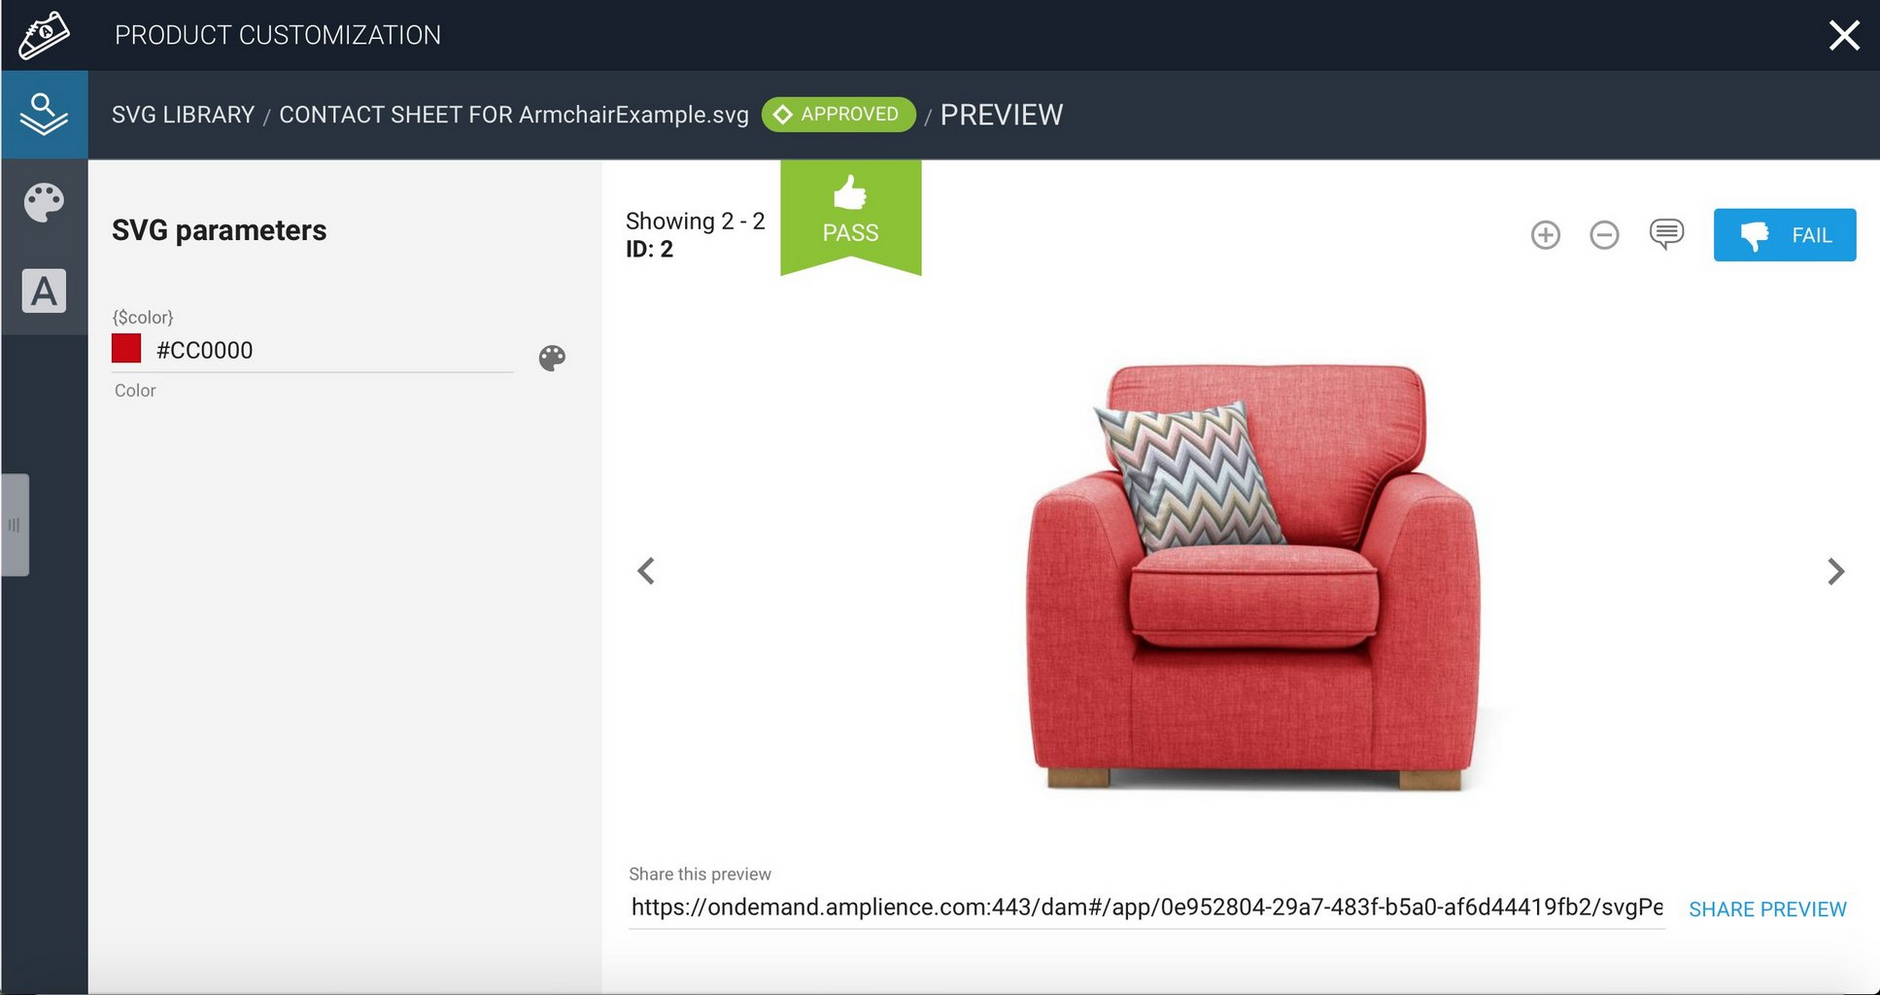
When the status is updated, the workflow status icon is updated to reflect the change. In this case the item has been approved.
View workflow in the SVG libraryLink copied!
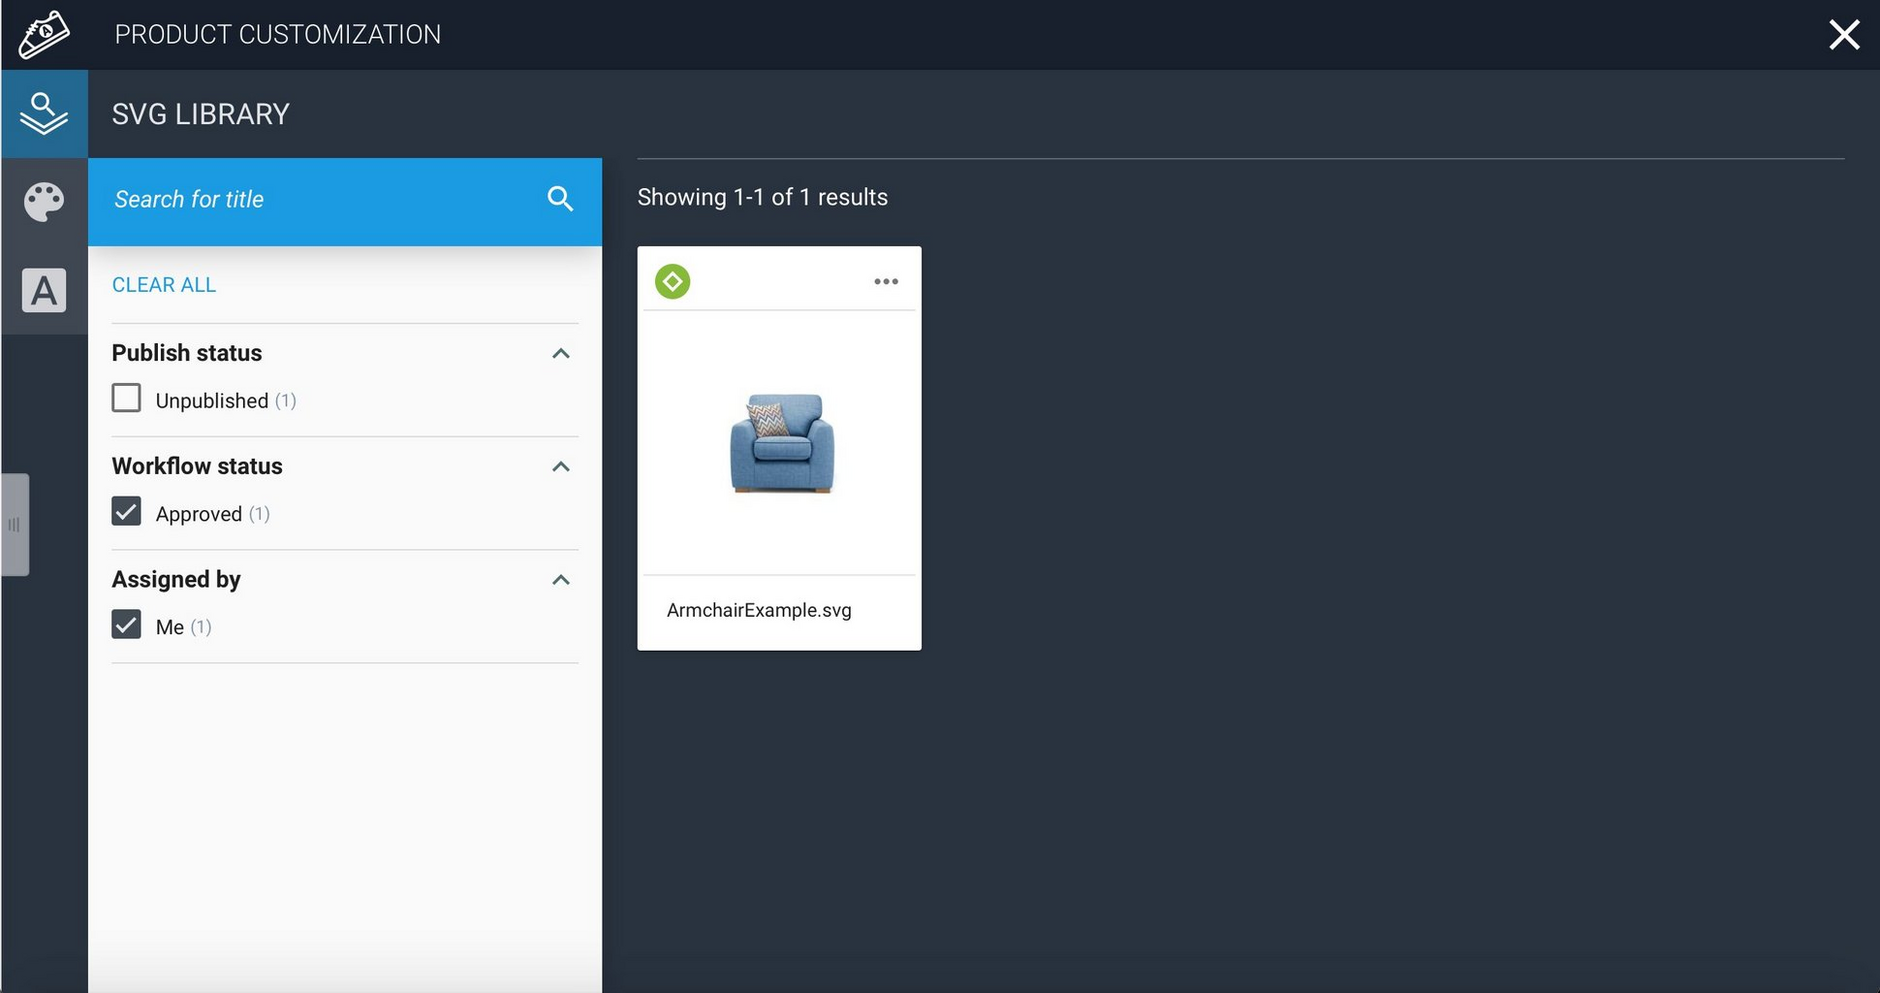
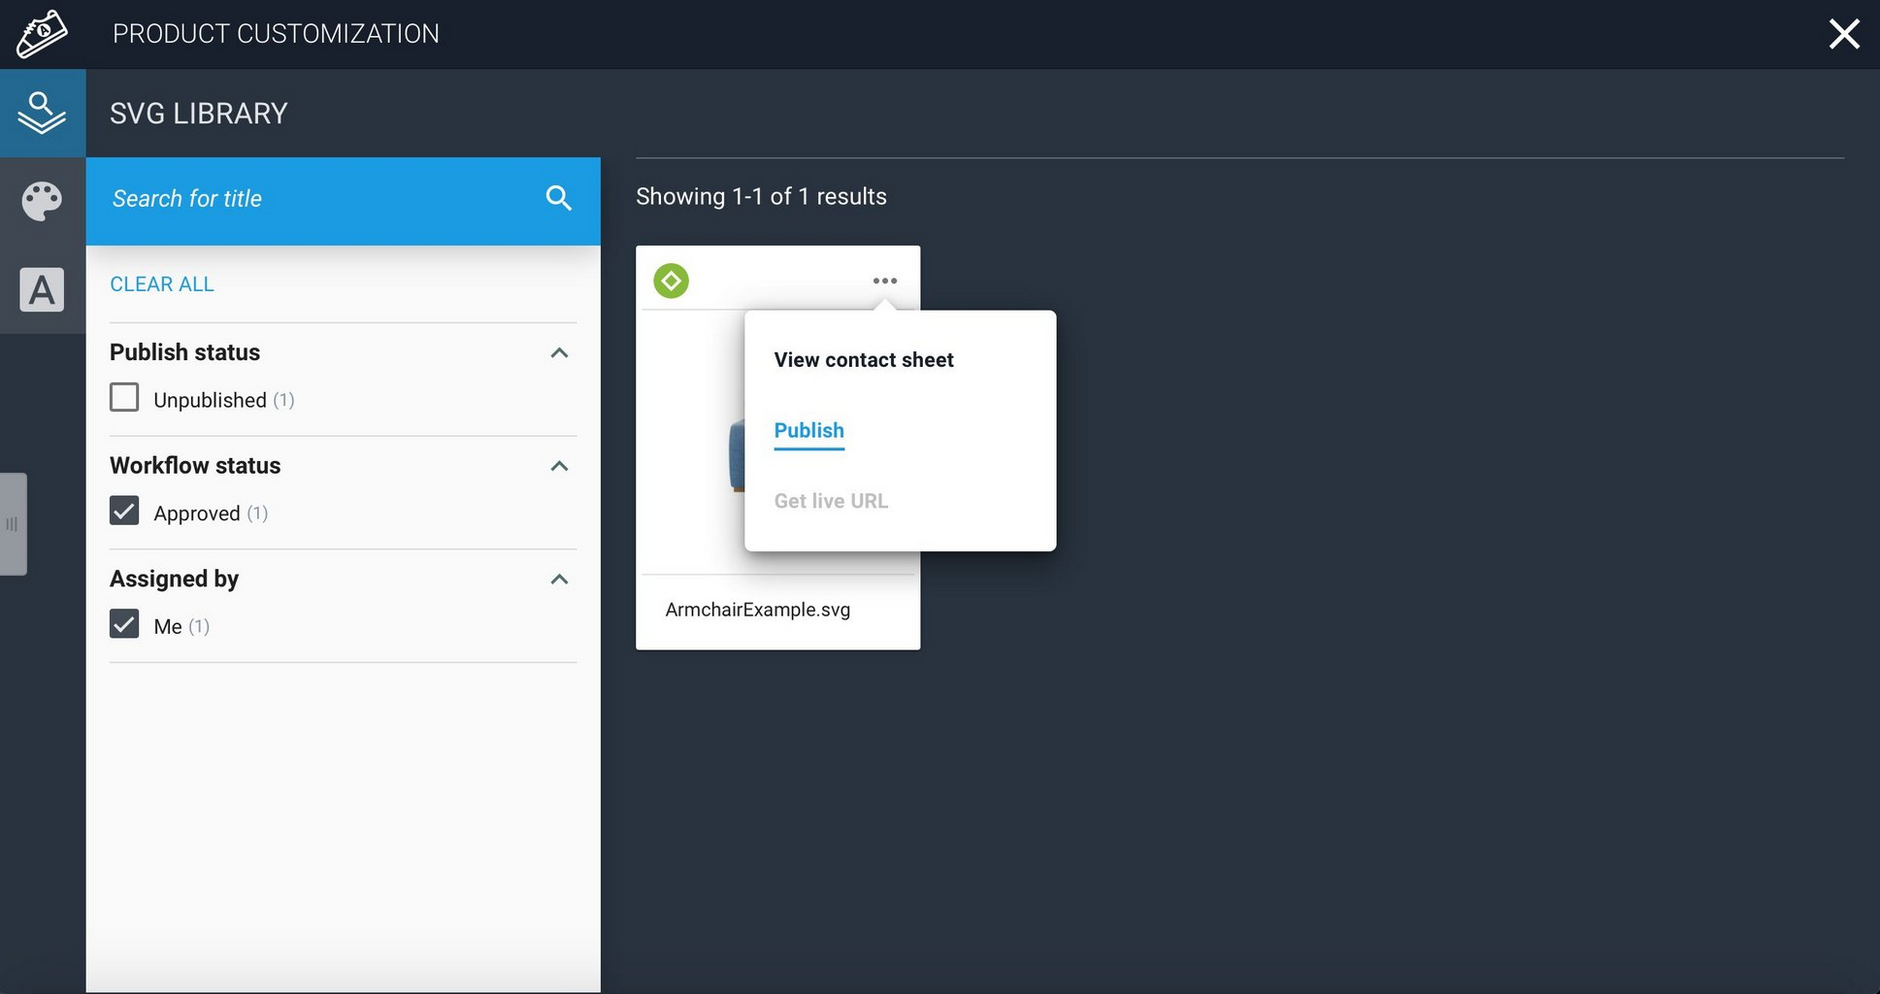
In the SVG Library, you can search for items based on their publish status, approved/rejected and assigned to and by. The screen below shows only items that have been approved and assigned to the current user. The workflow status icon is shown in the top left of the item's library card, next to its publication status.
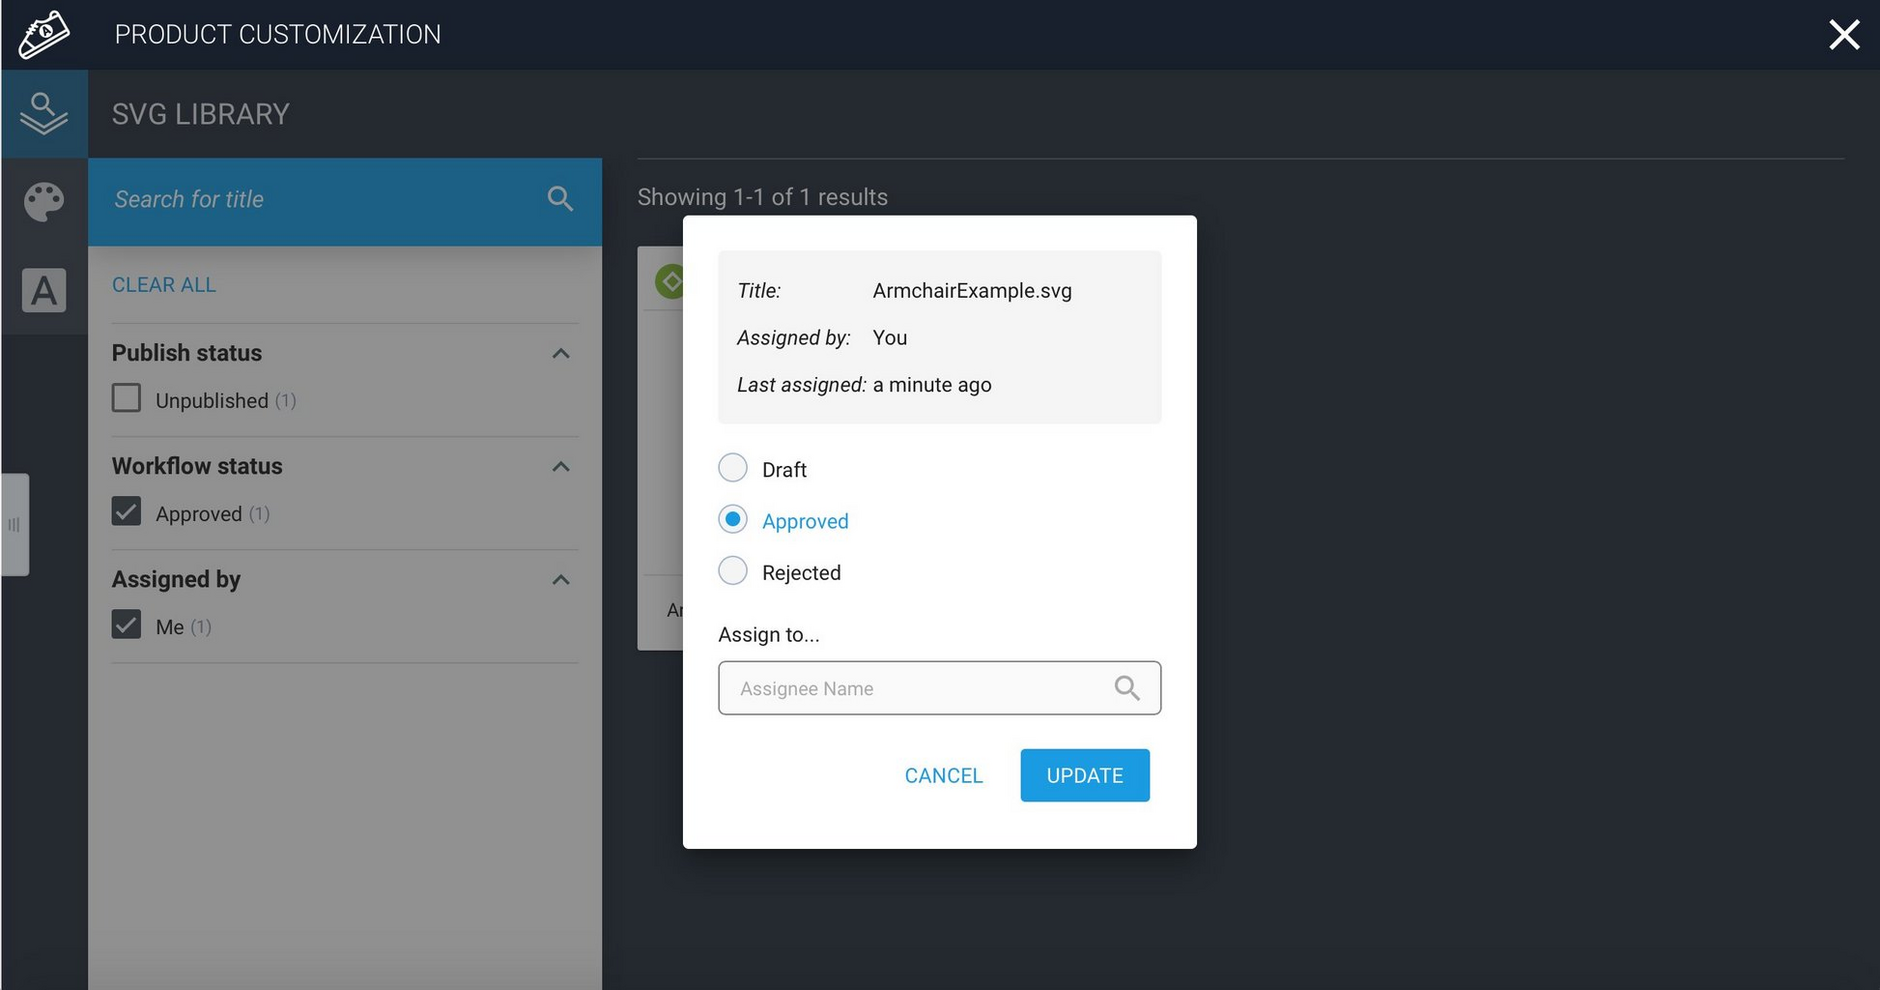
Click the workflow icon to display the workflow status screen, from where you can access the same functions that are available from the contact sheet page. You can change the workflow status and assign the item to another user.
Publish the SVGLink copied!
When the SVG is ready to be published, choose "Publish" from the menu on the library card.
You can use media delivery URLs to manipulate SVG images programmatically. For more information, see URLs for SVG images.
The workflow status will also be reflected for this asset in the Content Hub properties pane.
